Finished Rick Dias!

I sometimes have the tendency to post stuff on Facebook and forget to upload the same content on my blog…breaking old habits methinks!

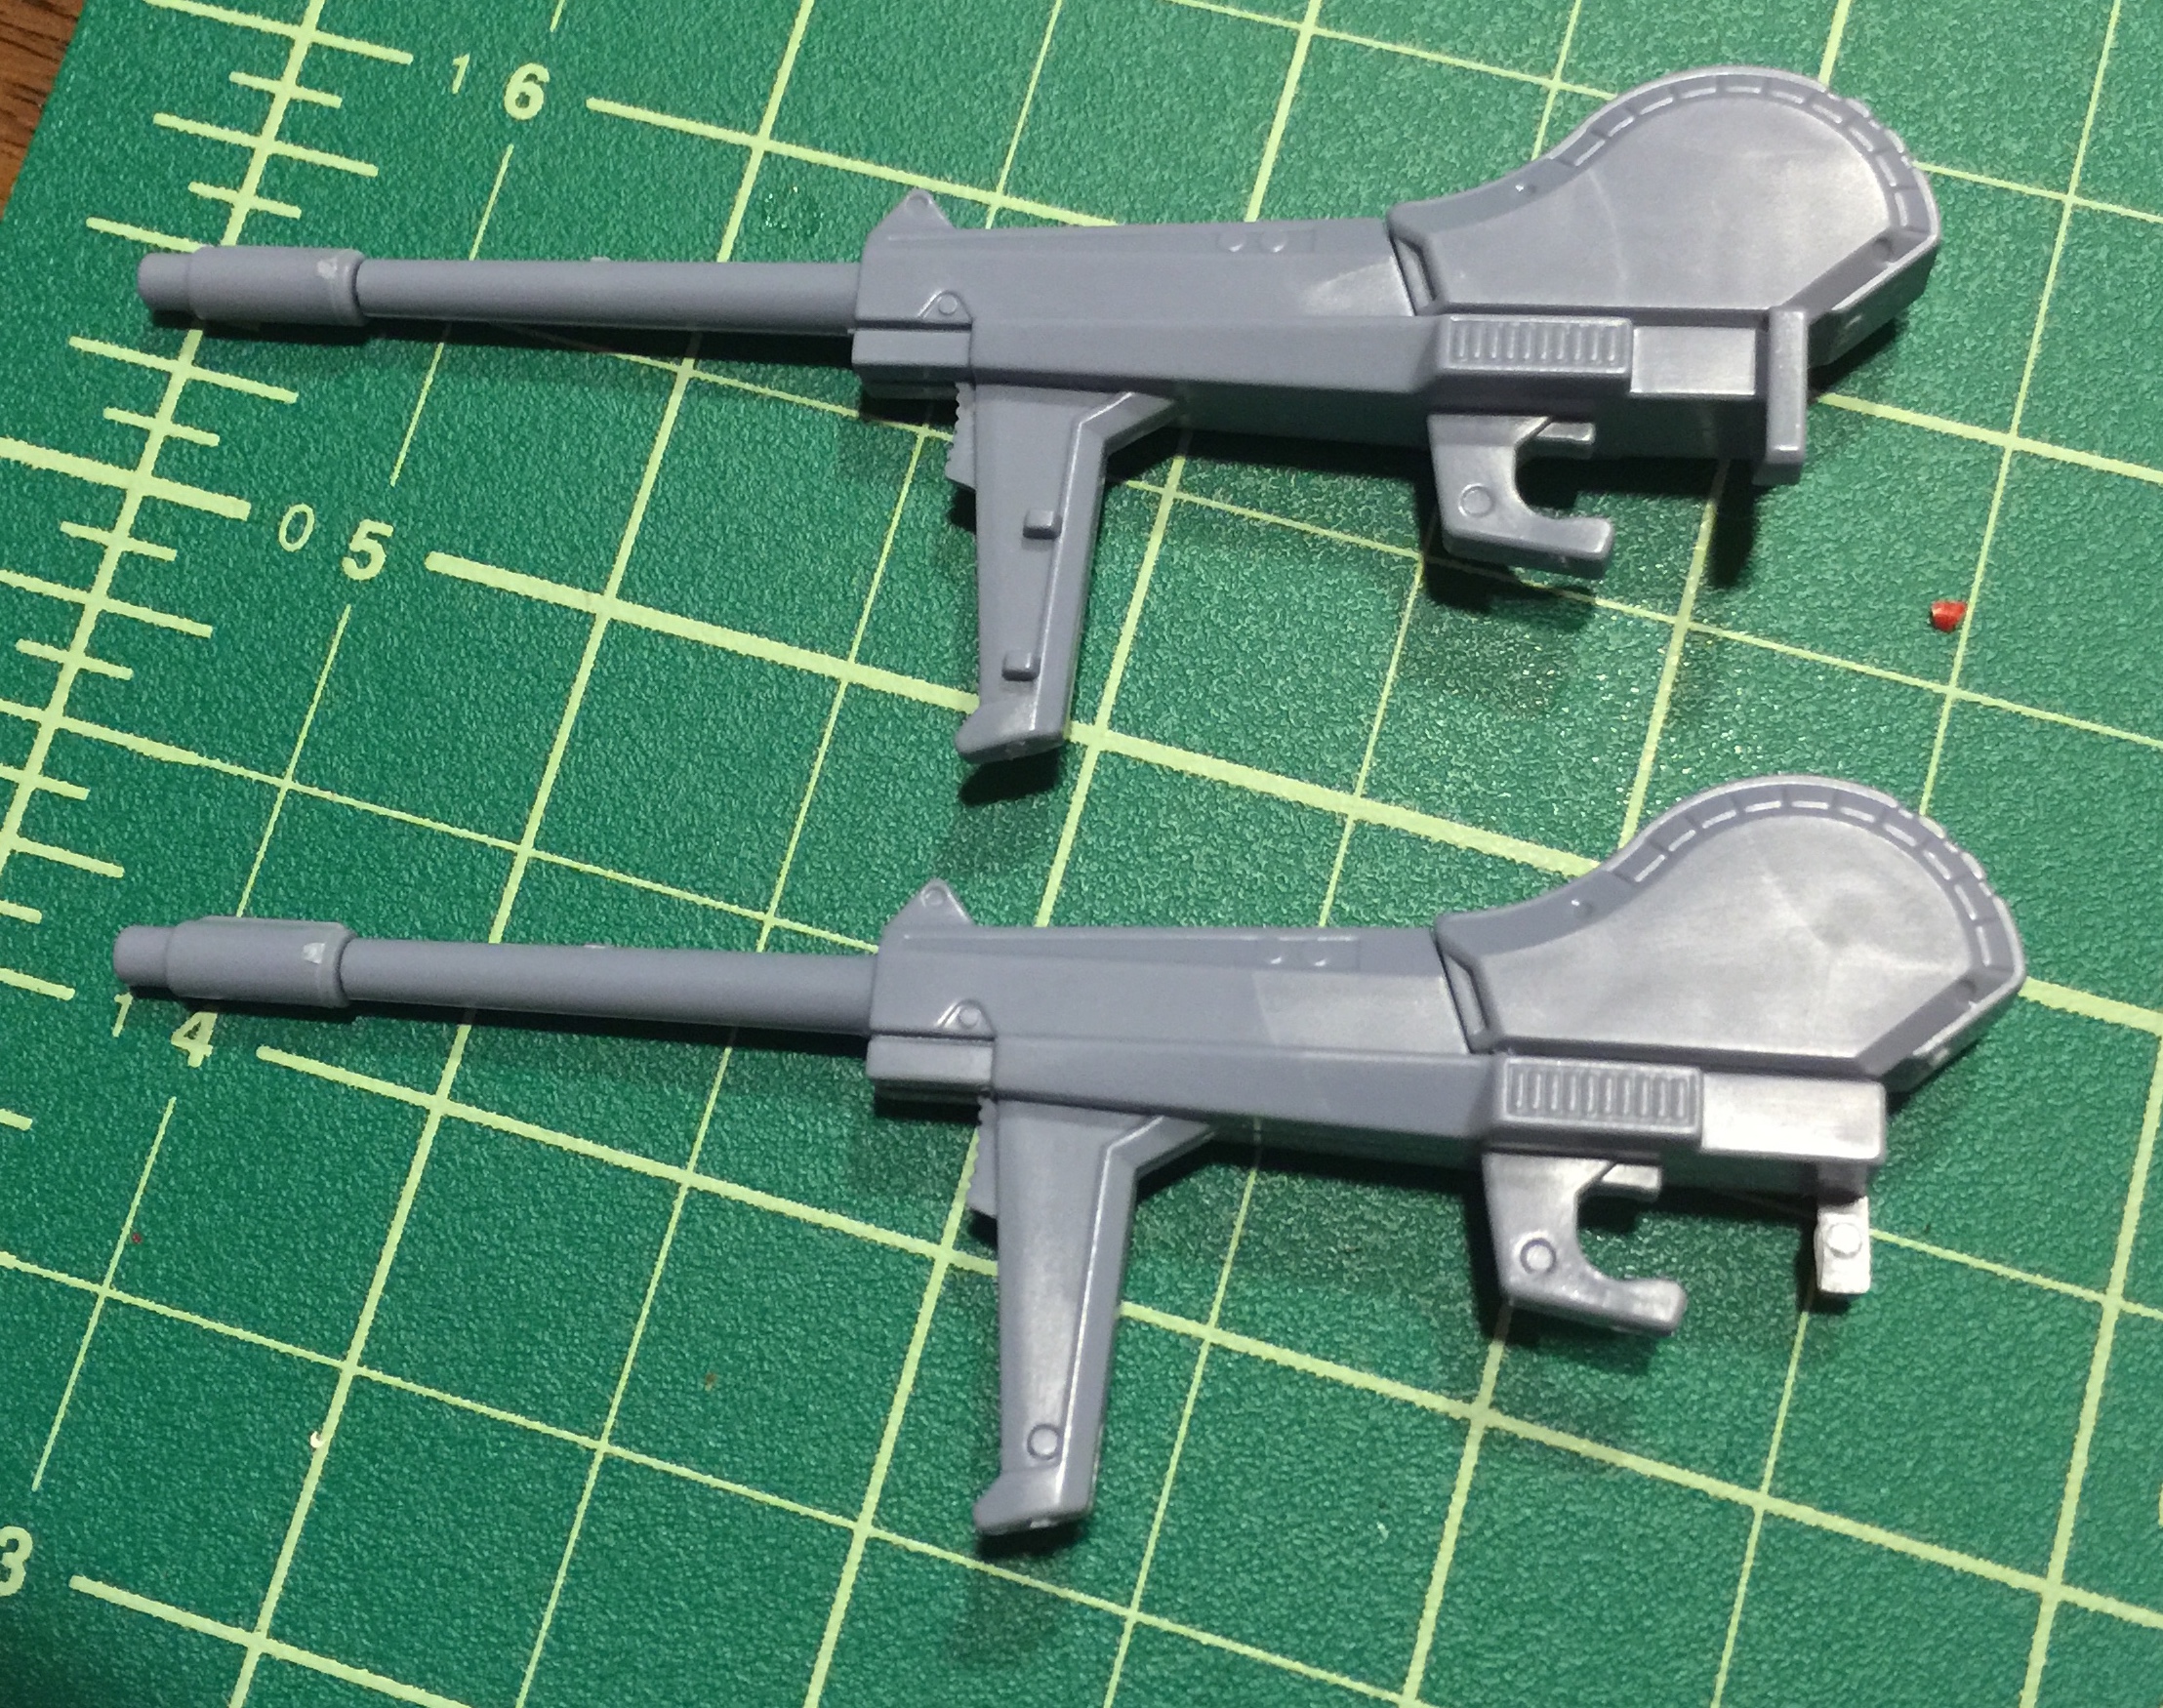
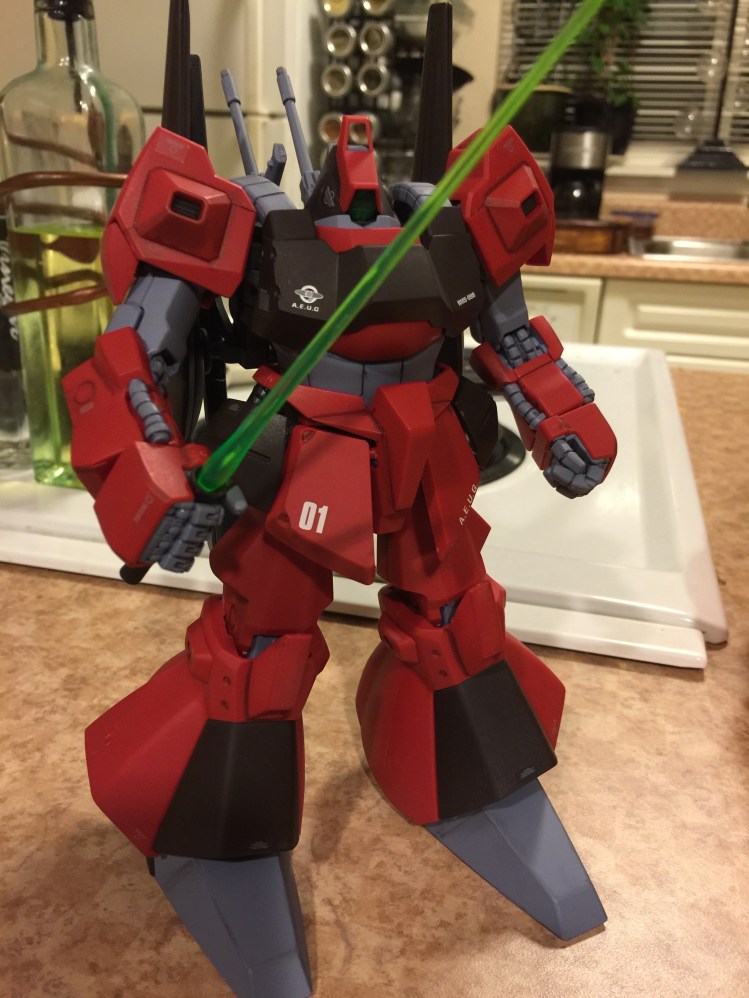
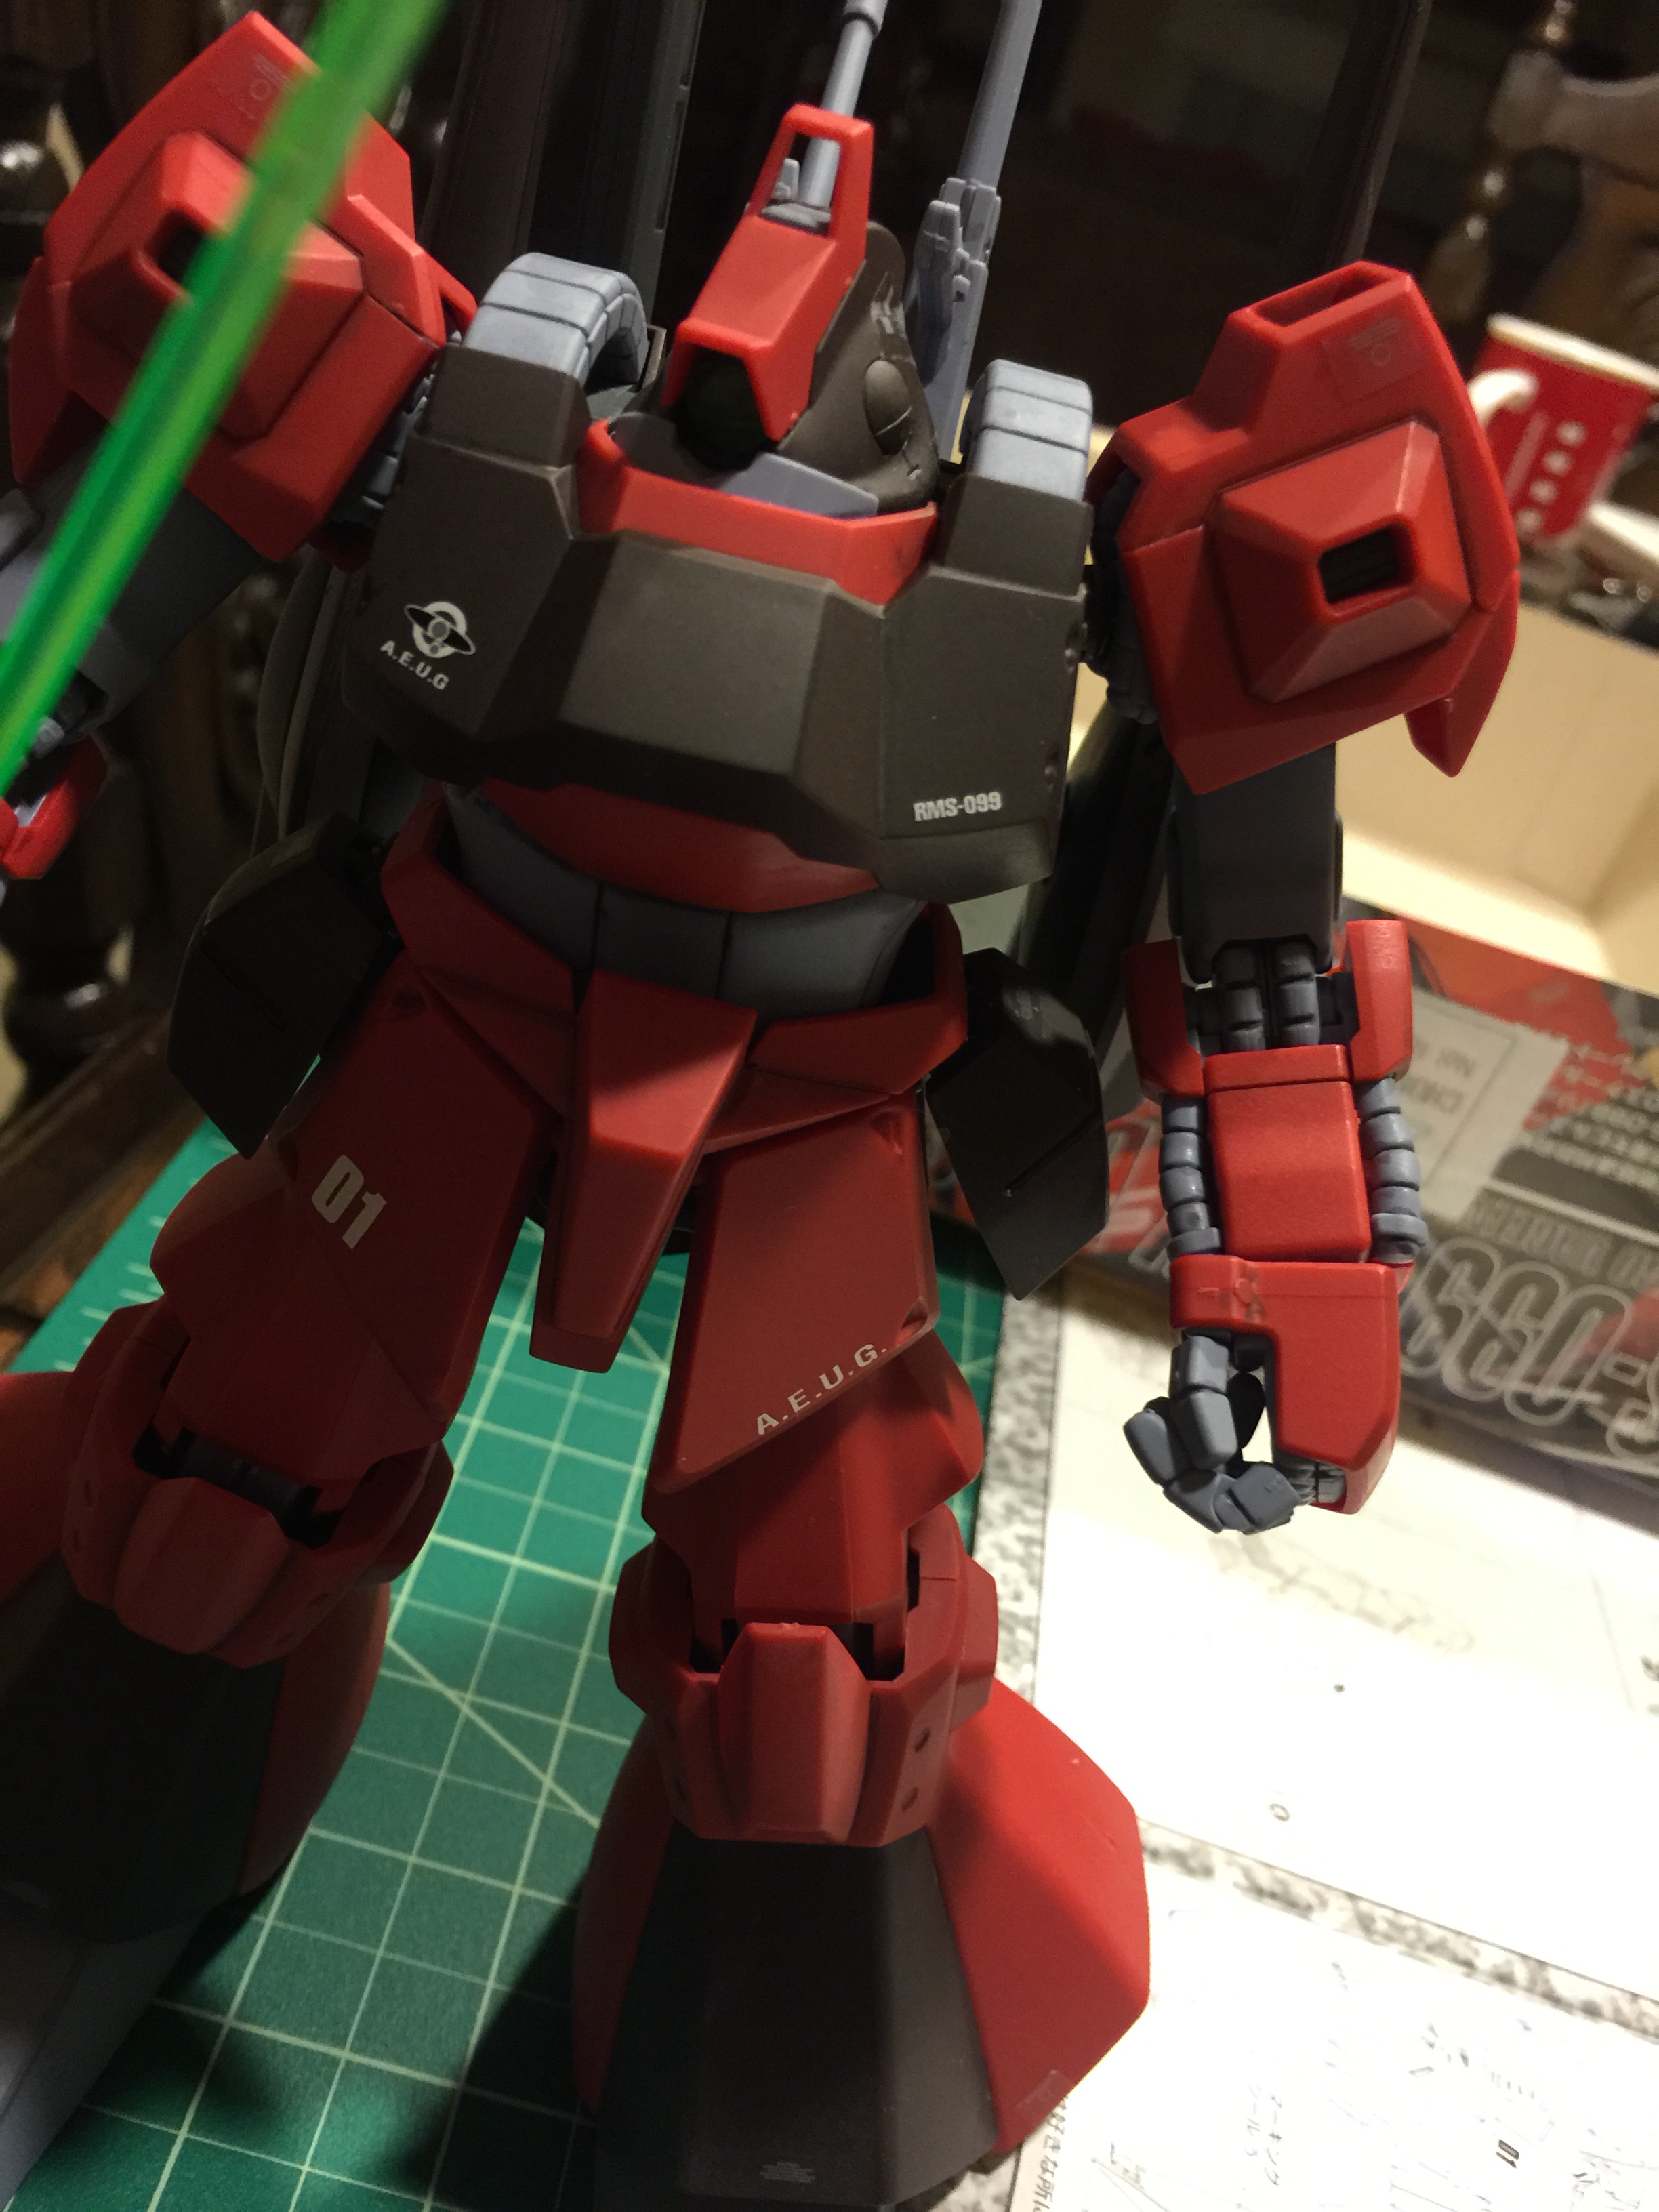
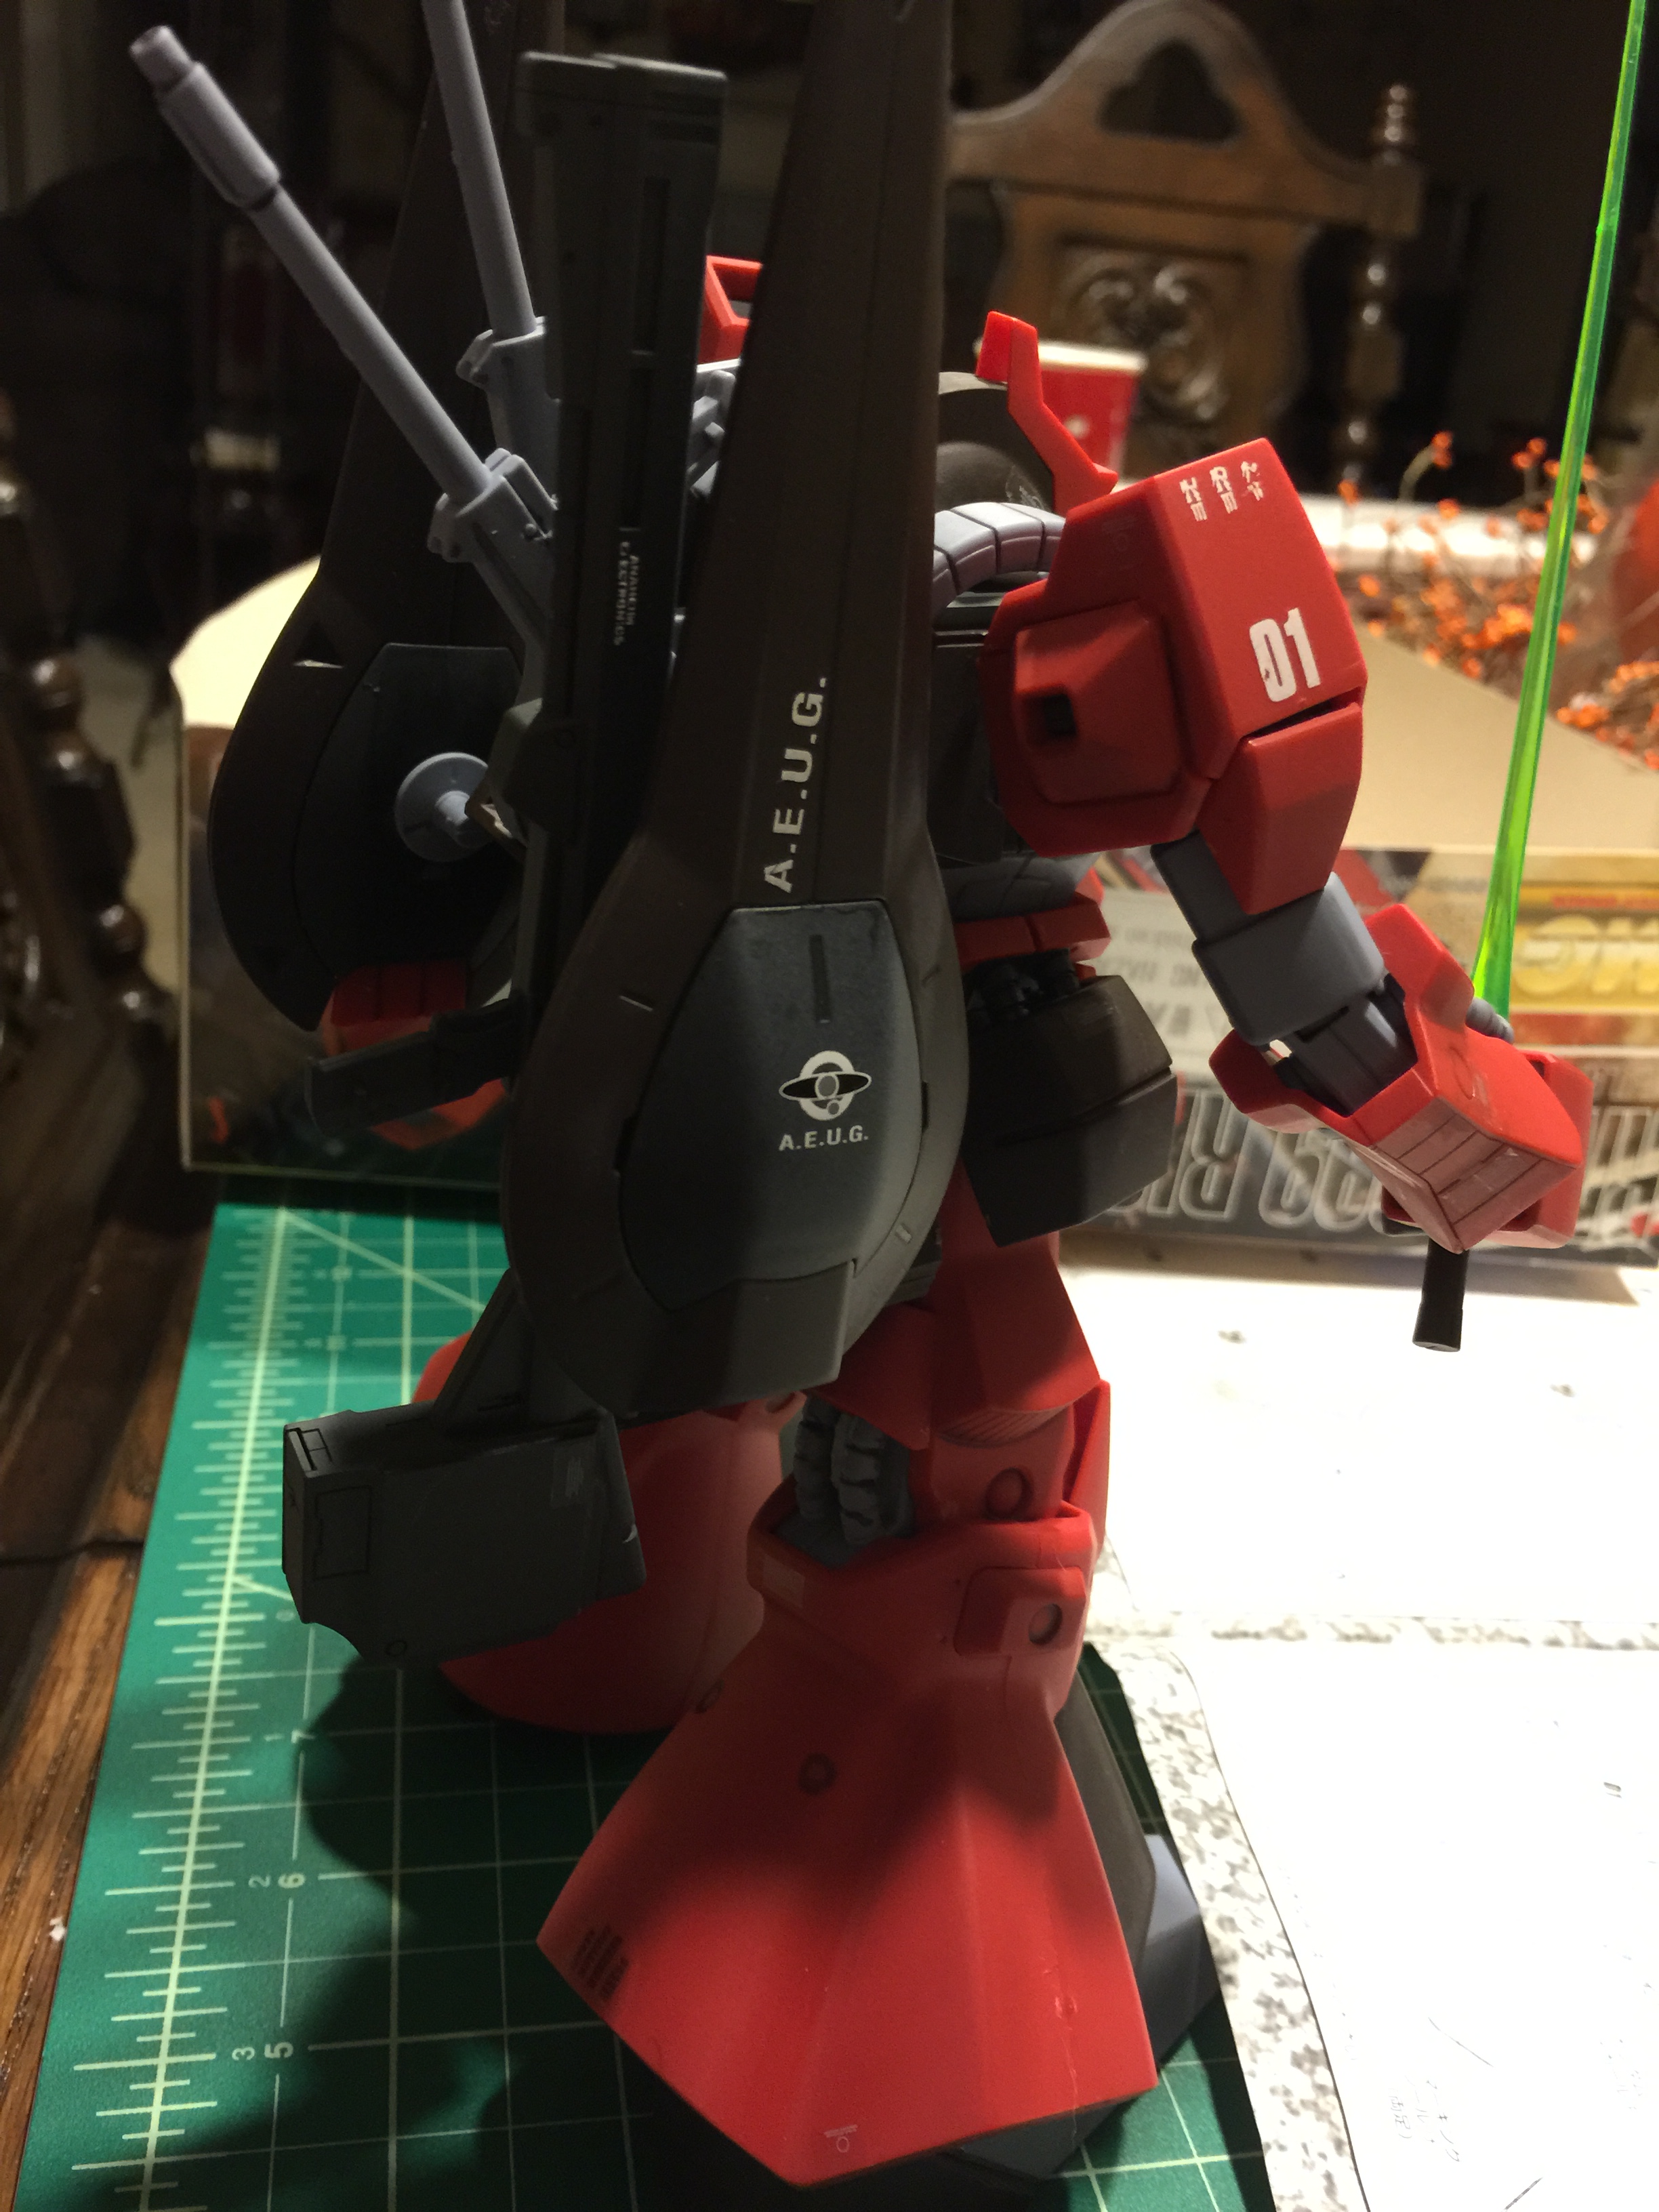
Here’s my completed Rick Dias project. It was my first attempt at Dry Transfer decals. I initially applied the decals using masking tape around the edges, but found it was too cumbersome and didn’t hold the decal as well as it should. I instead applied scotch tape over the decal and used a coin to scratch it onto the surface. It wasn’t perfect, but it worked out better in the end. Here’s the final results!

IMG_0159

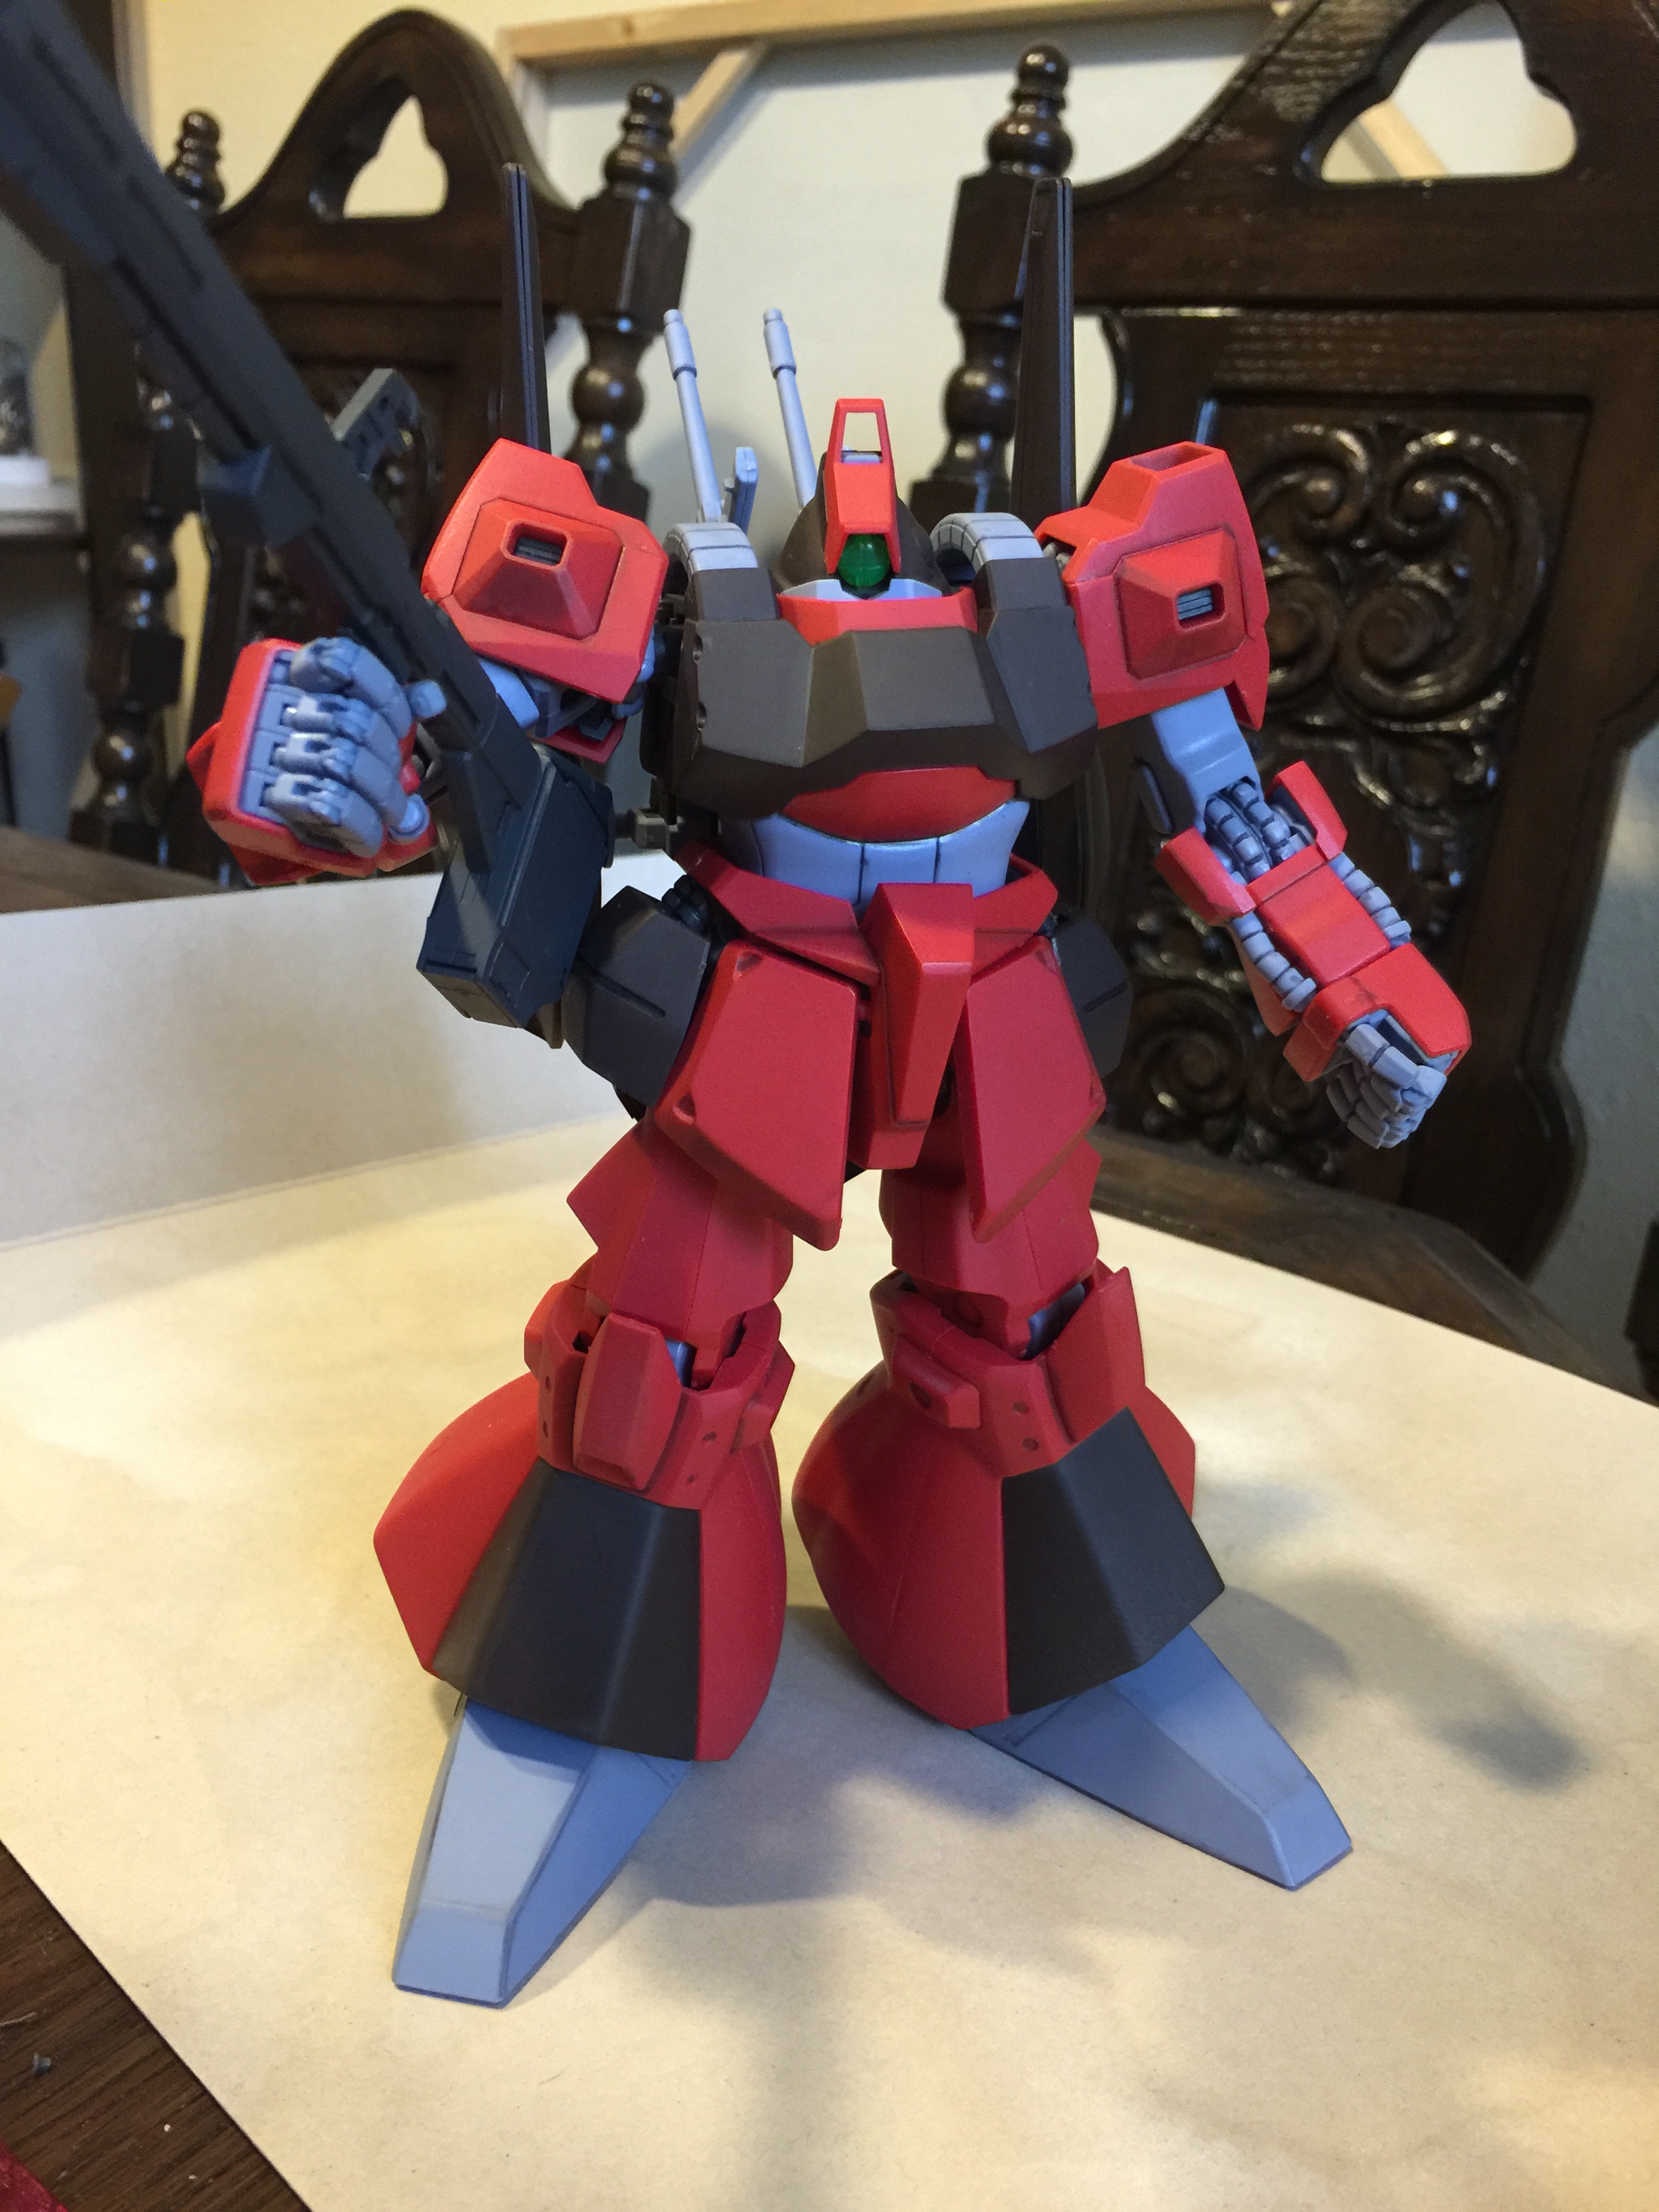
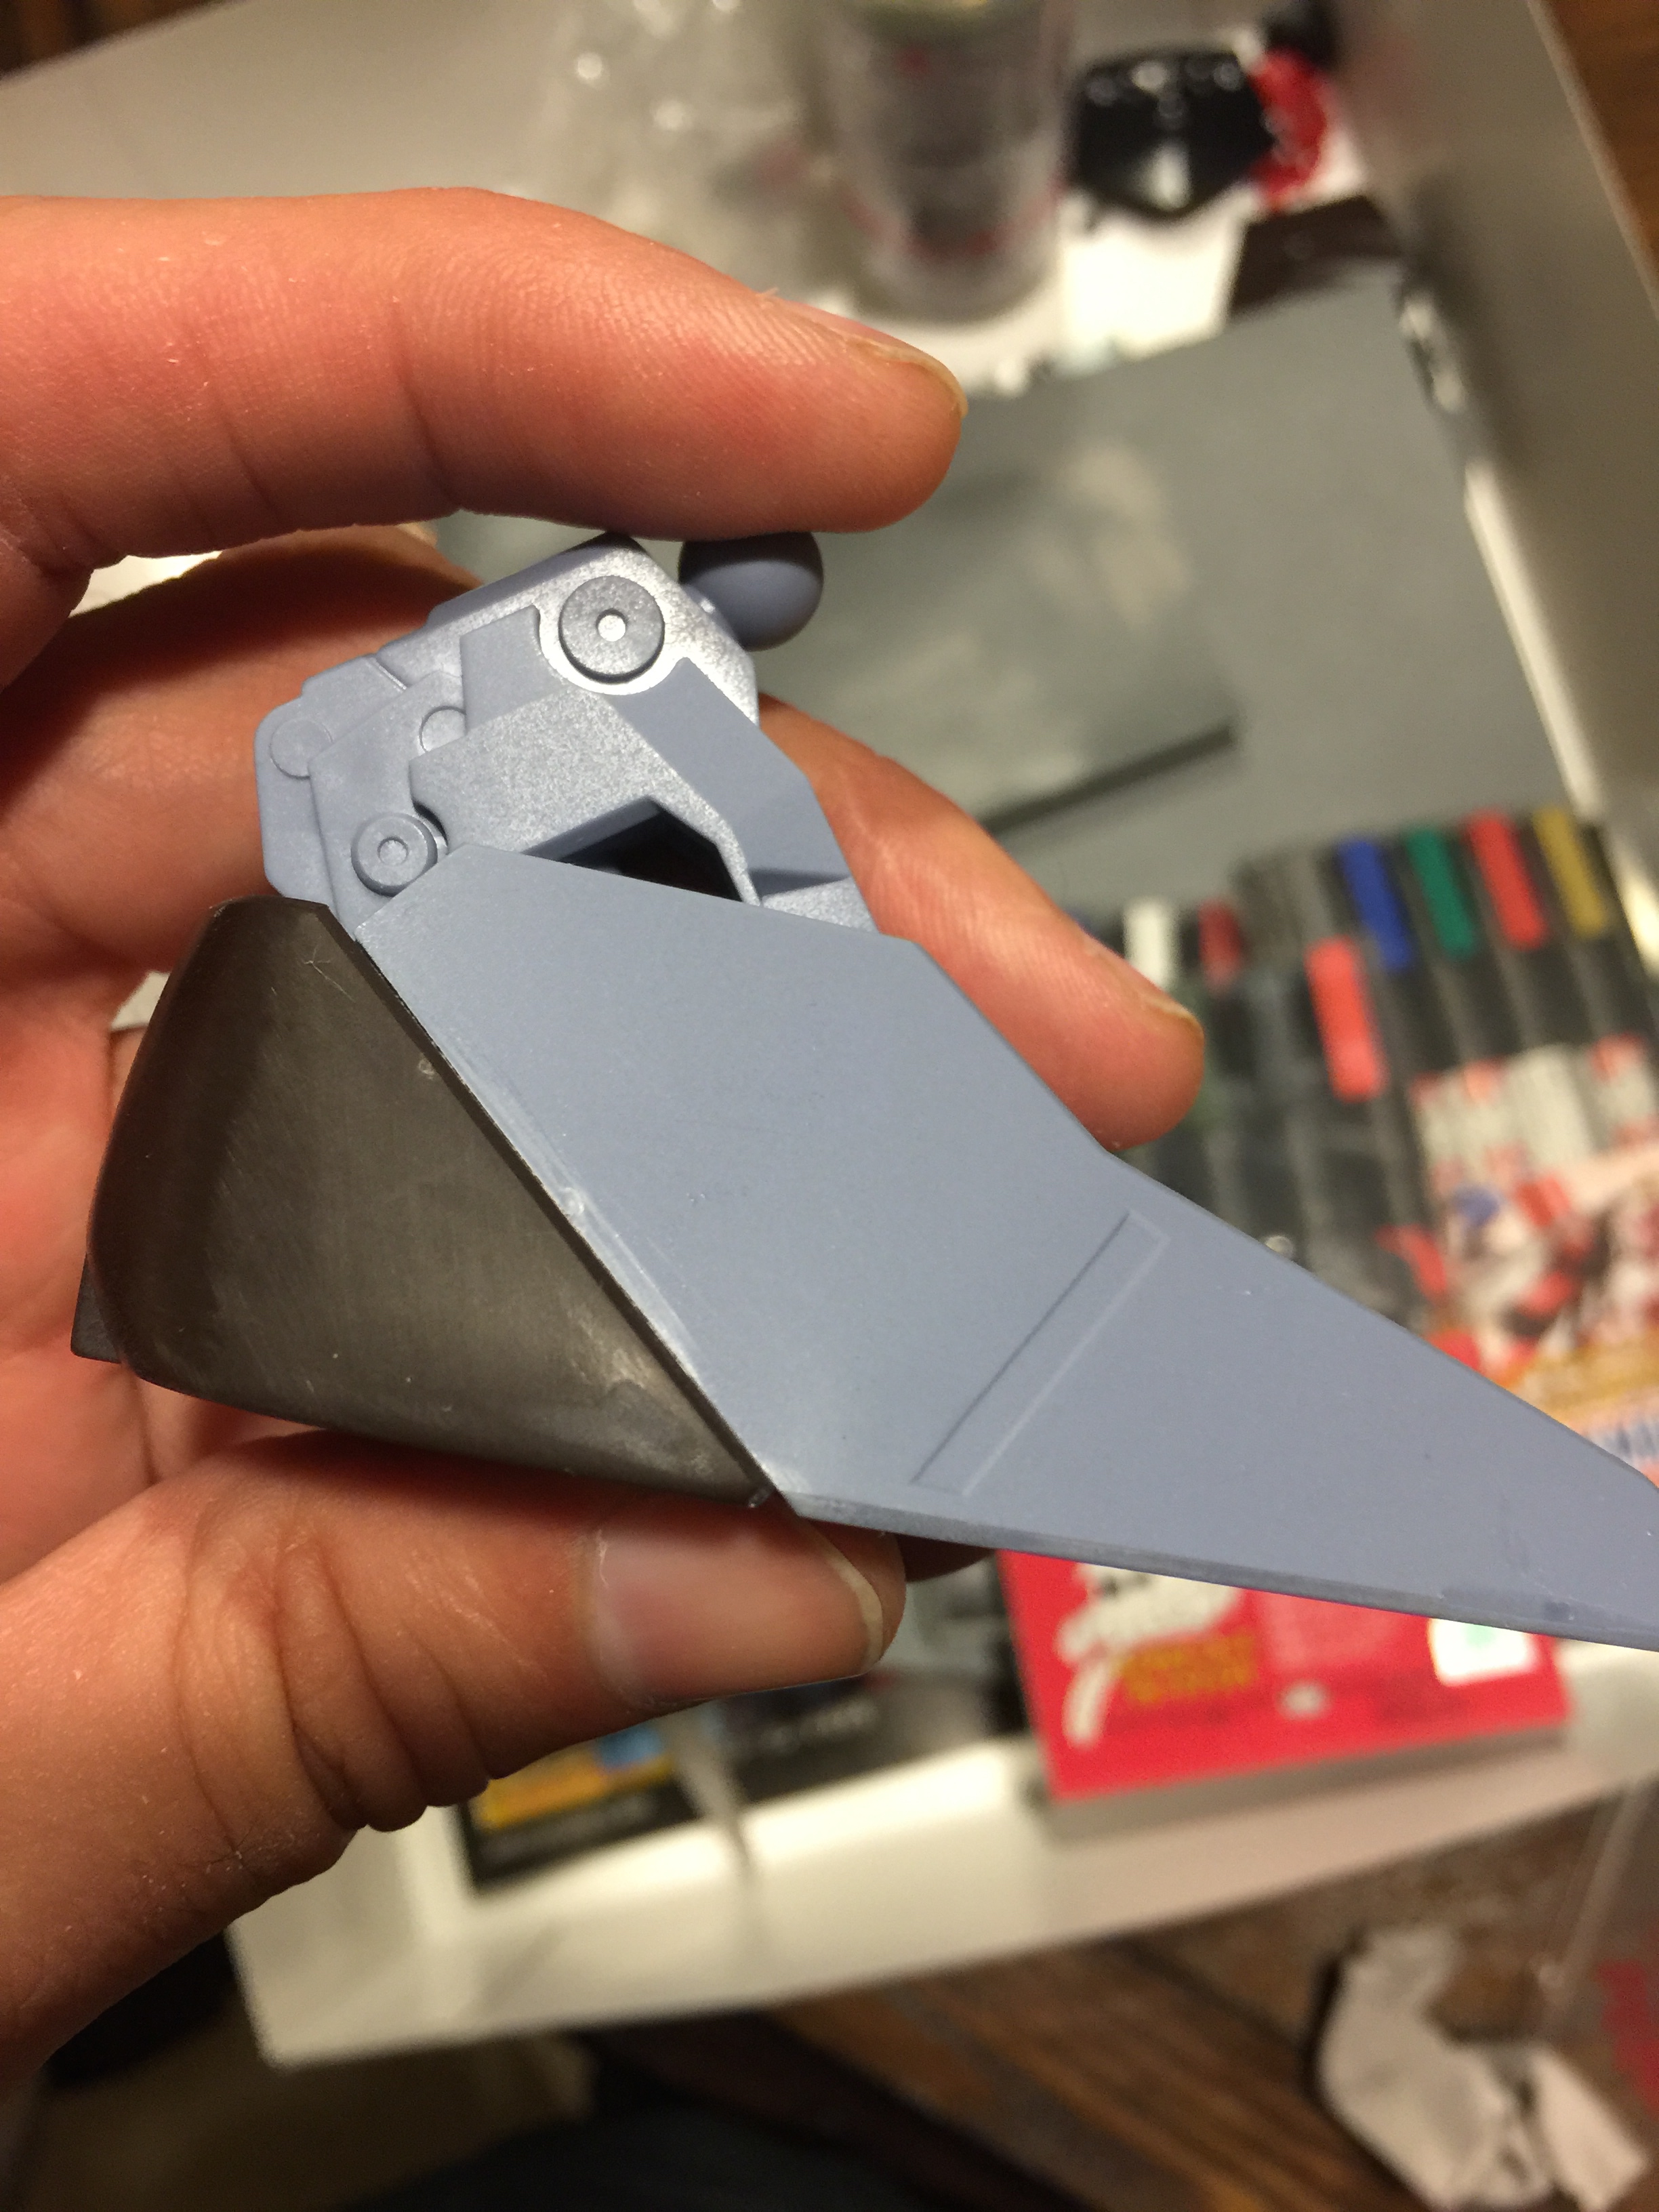
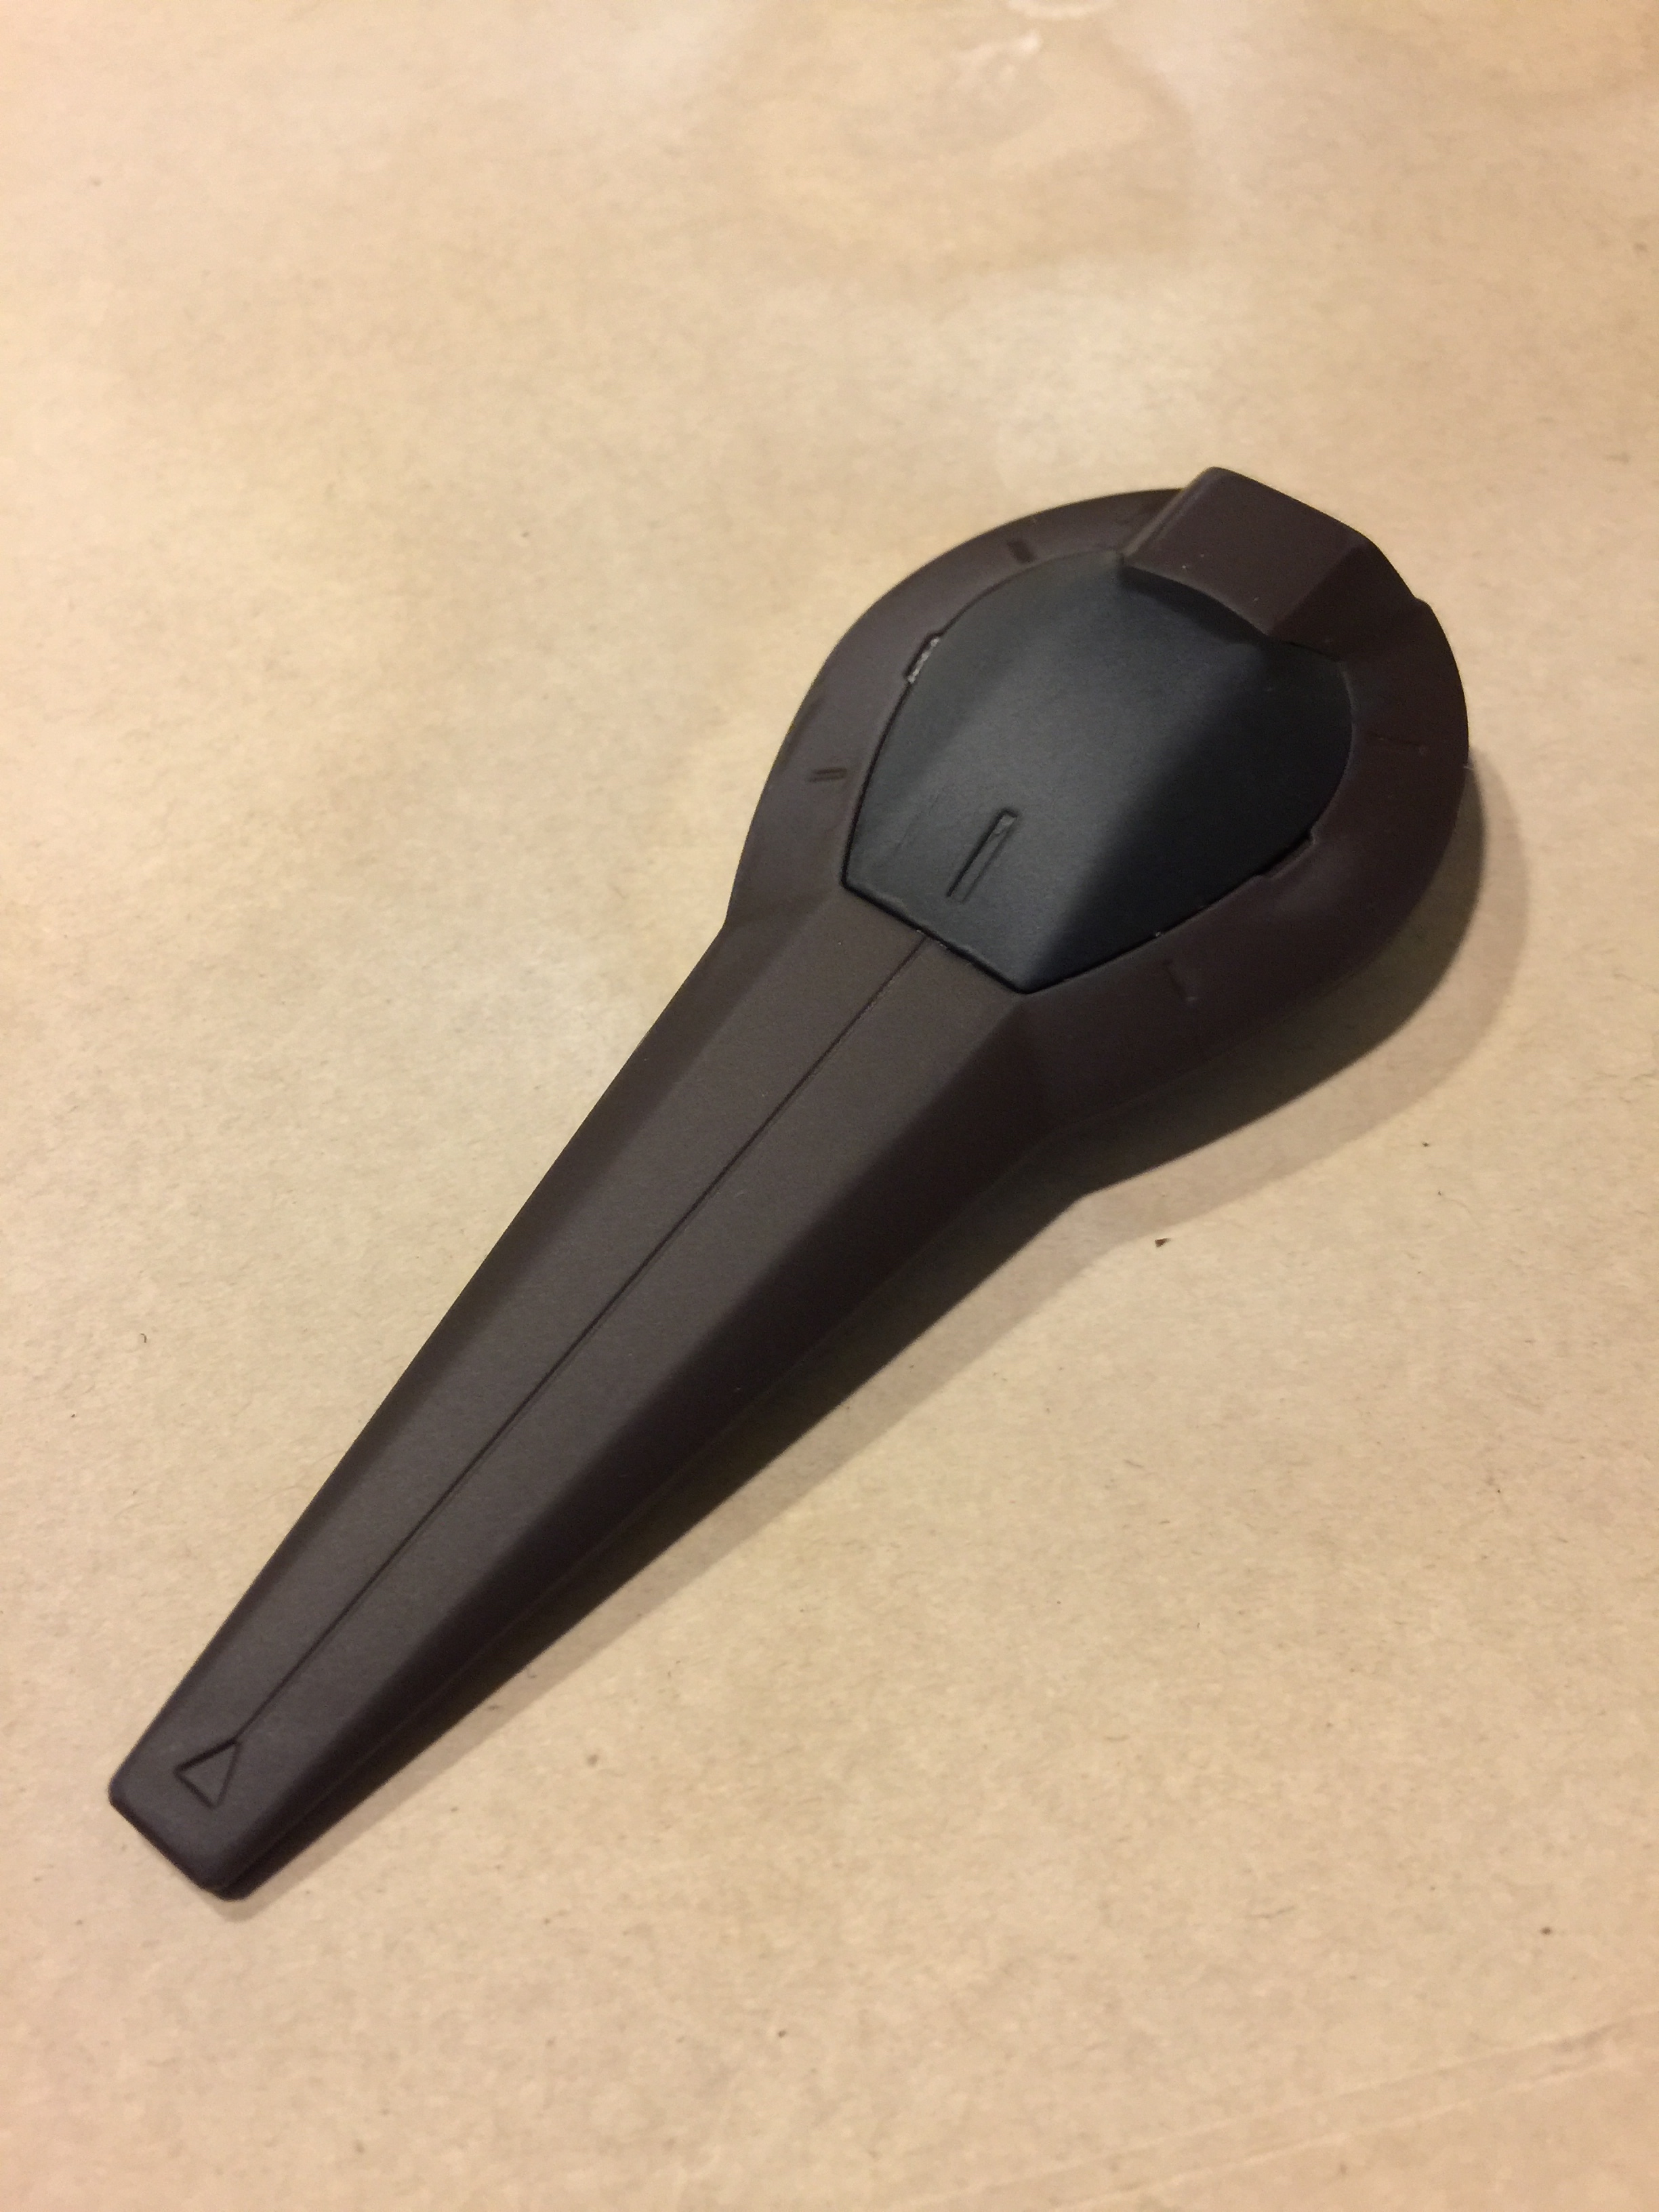
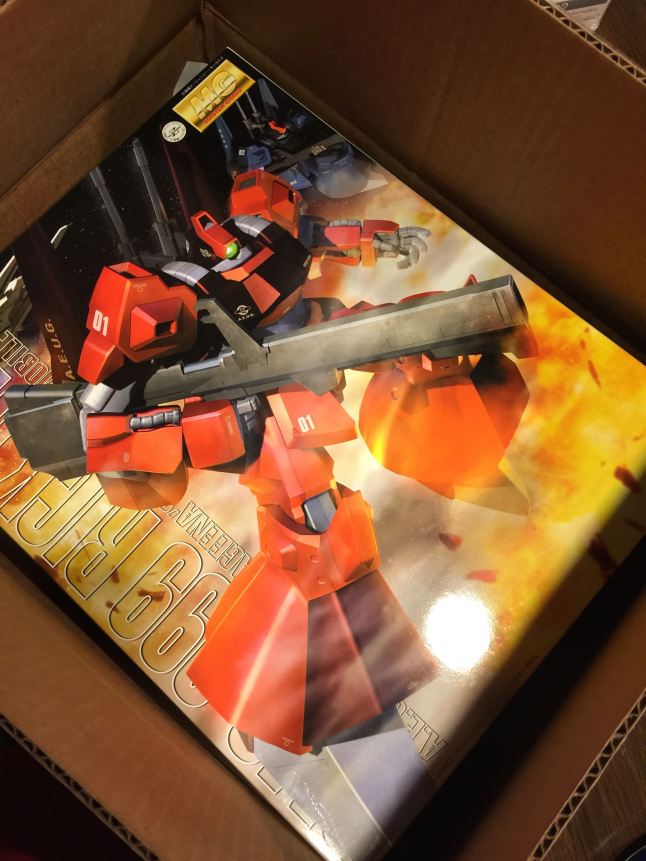
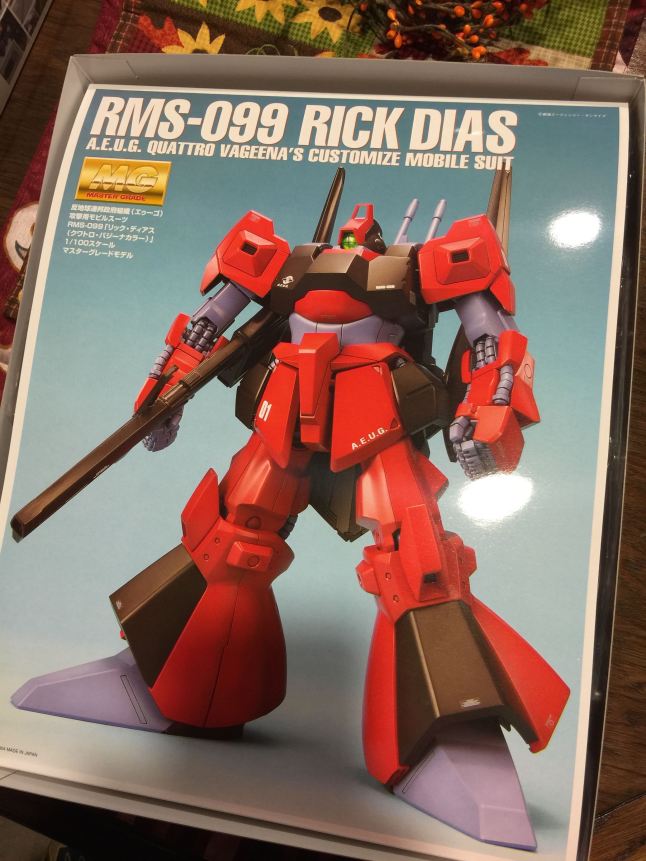
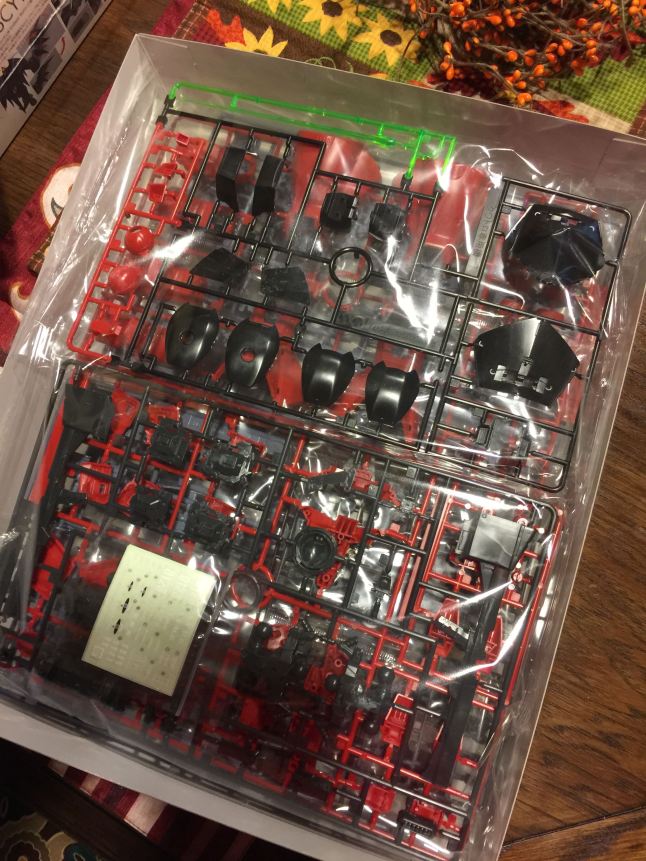
Before applying the decals.
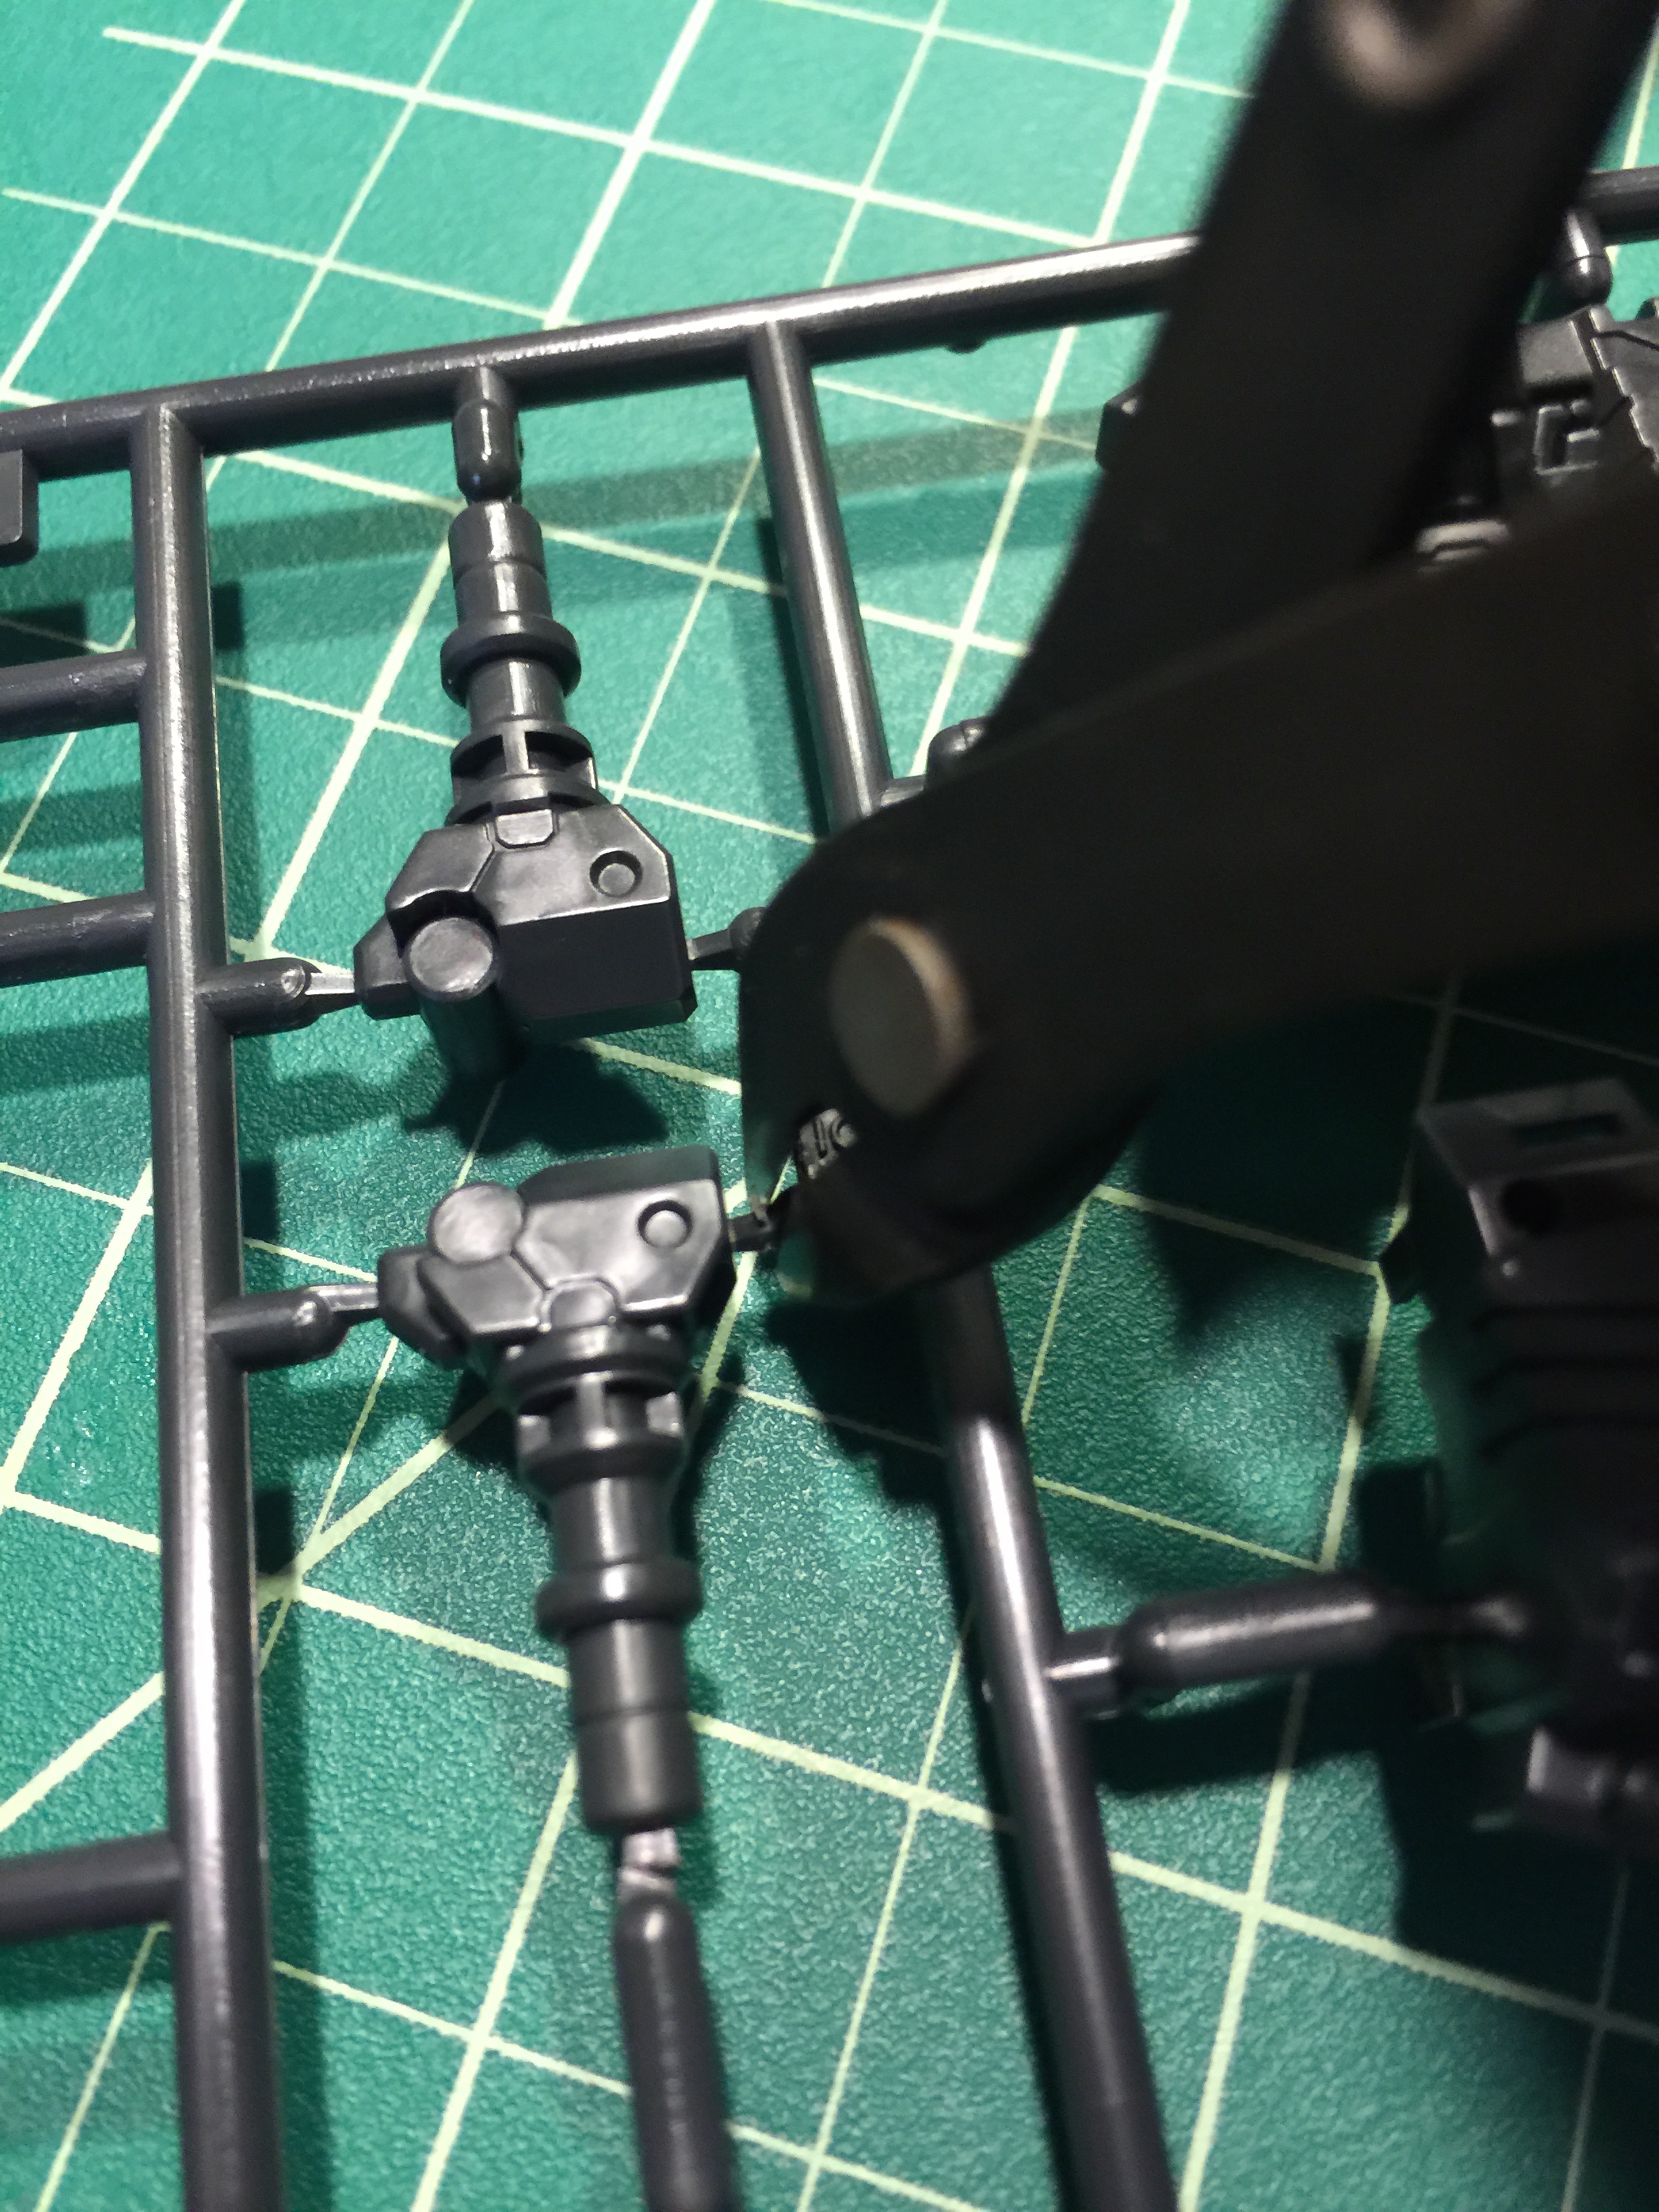
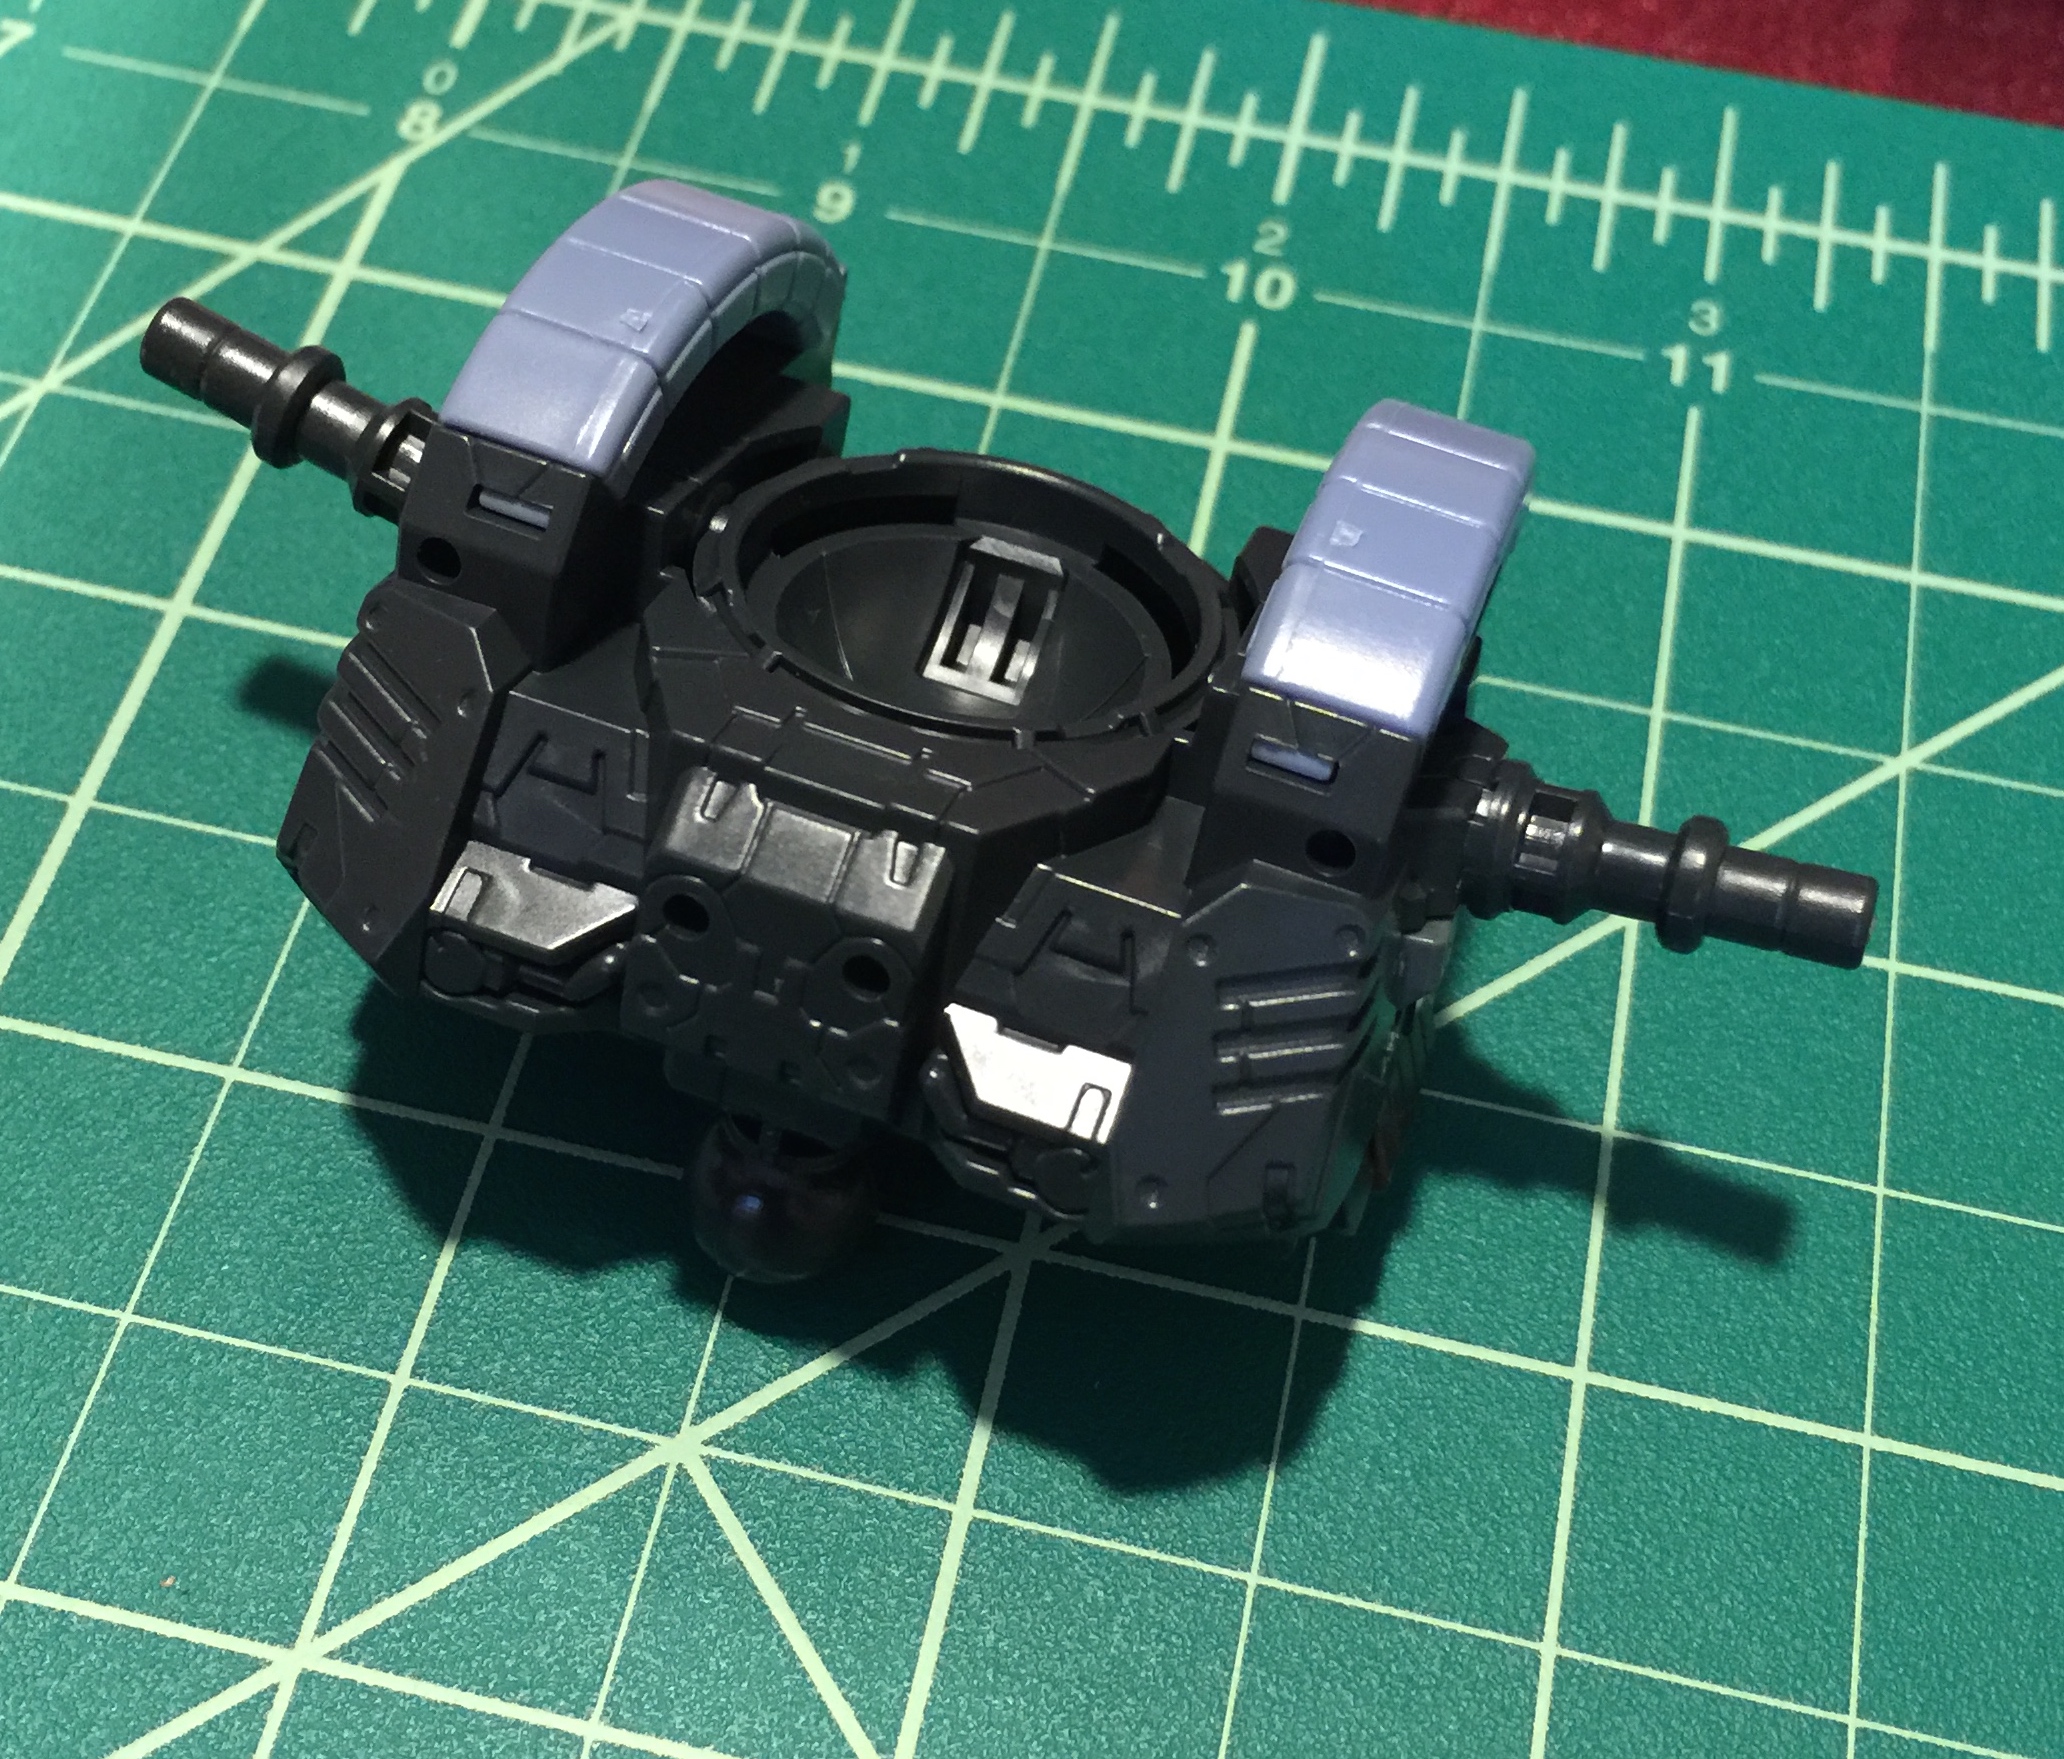
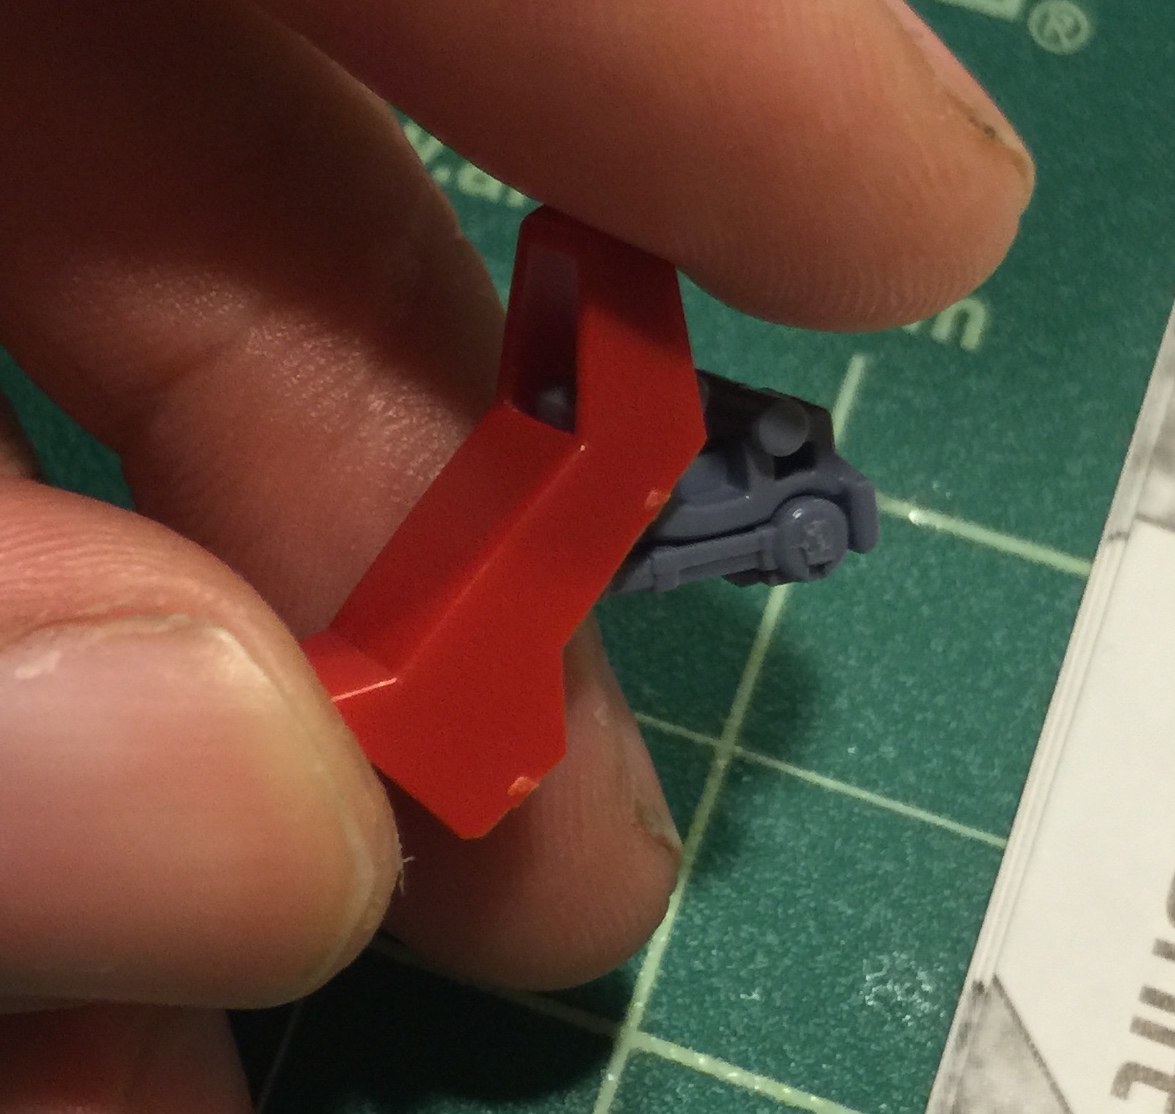
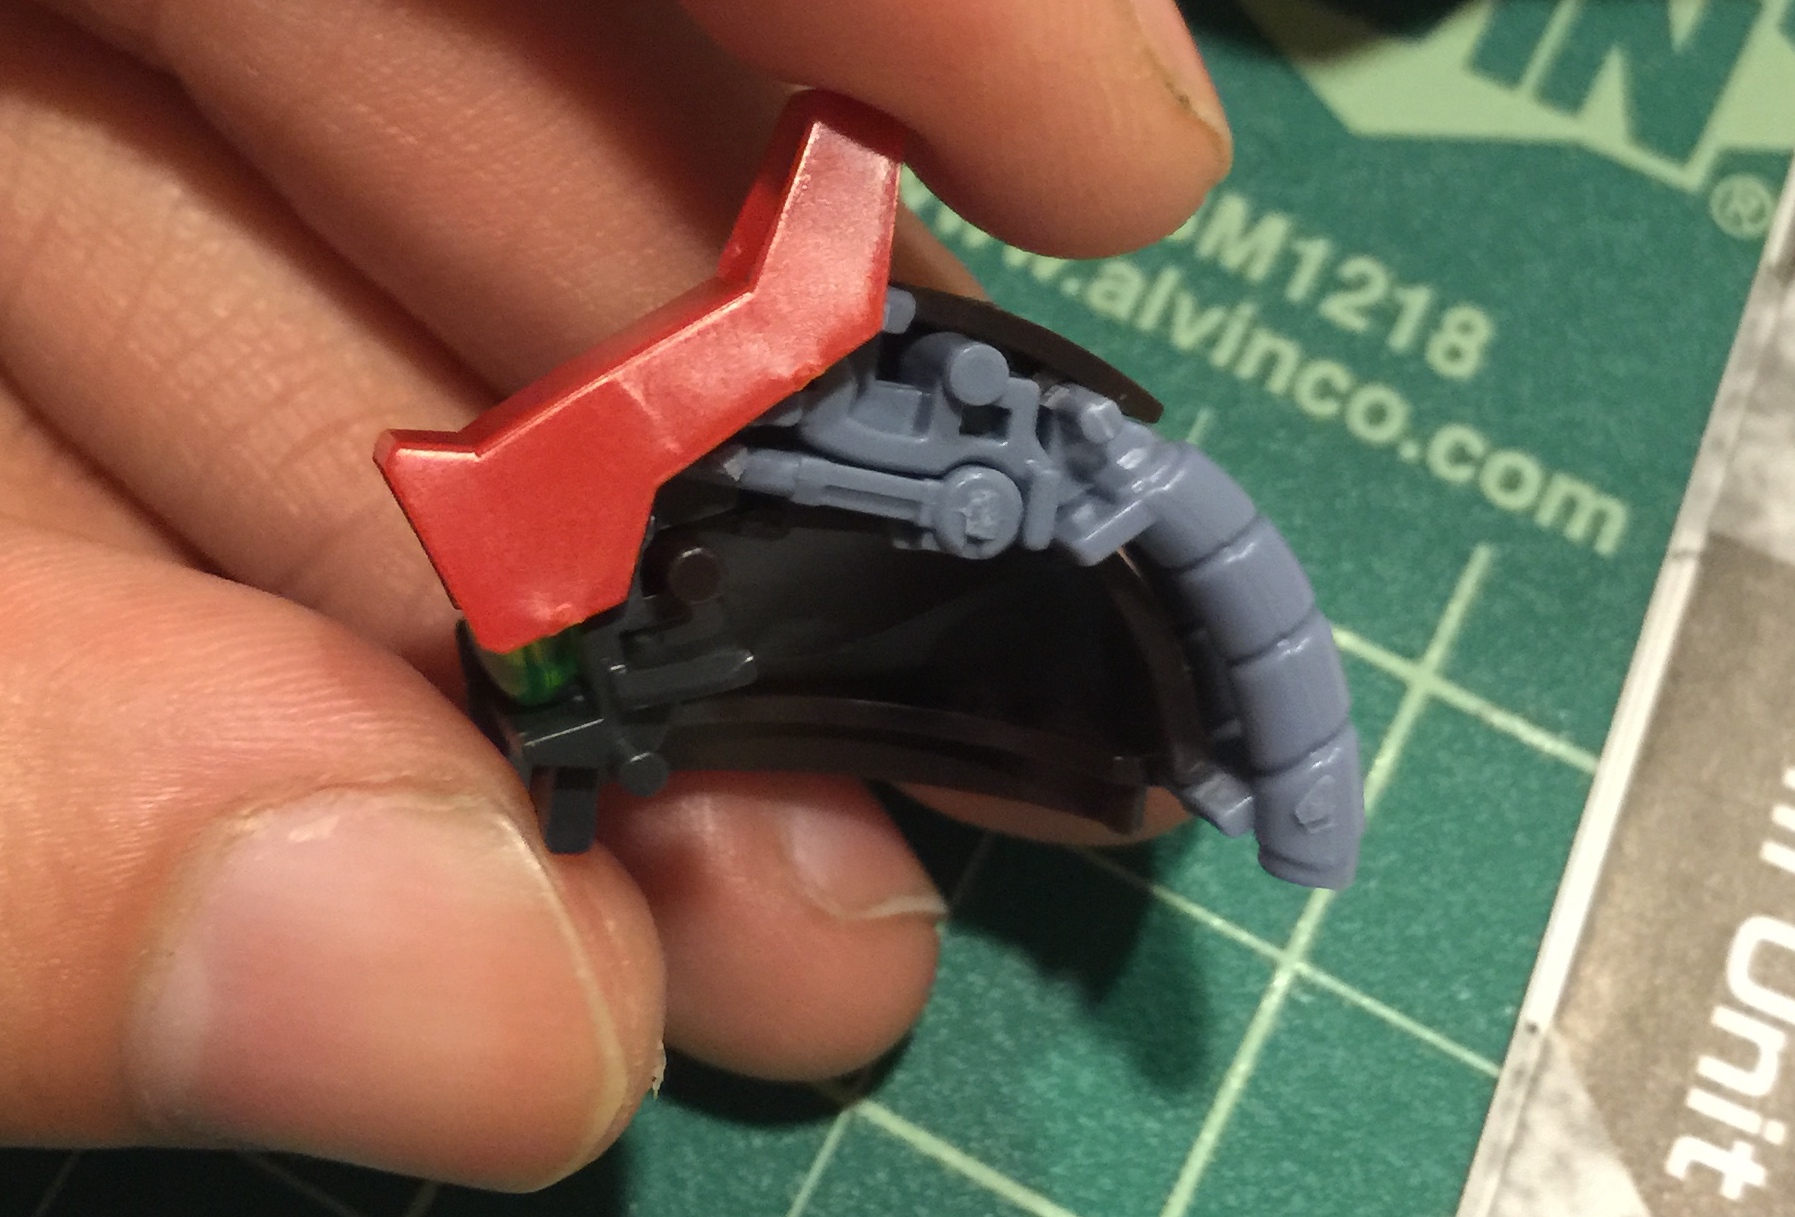
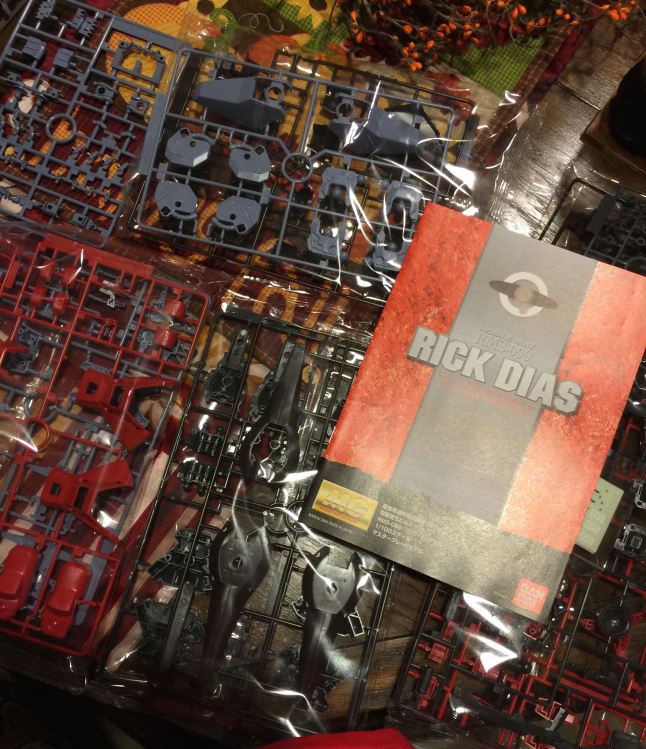
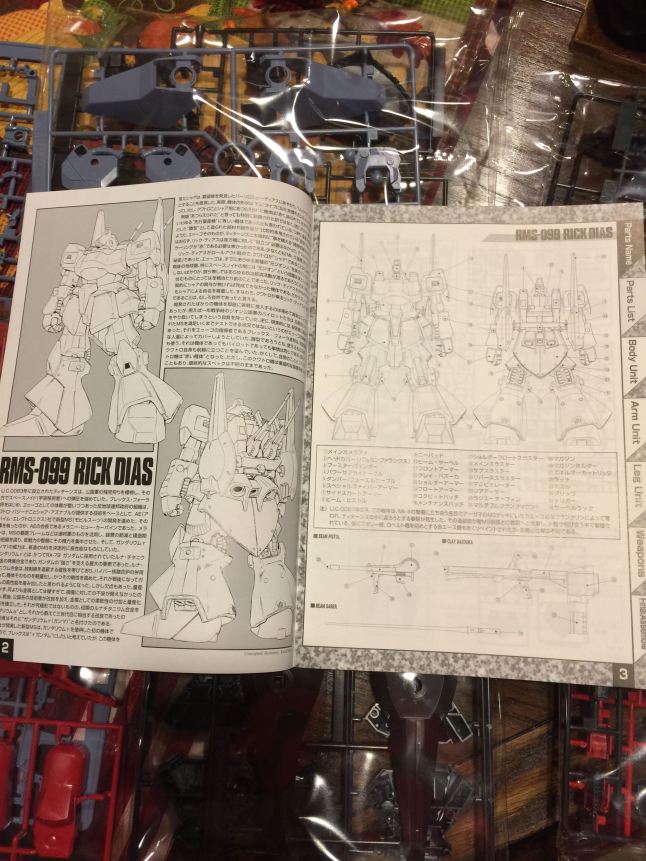
The Process:


IMG_0160 IMG_0161


The completed project

IMG_0165 IMG_0167 IMG_0168 IMG_0169 IMG_0171 IMG_0172 IMG_0173 IMG_0174 IMG_0175 IMG_0176 IMG_0177 IMG_0178 IMG_0170


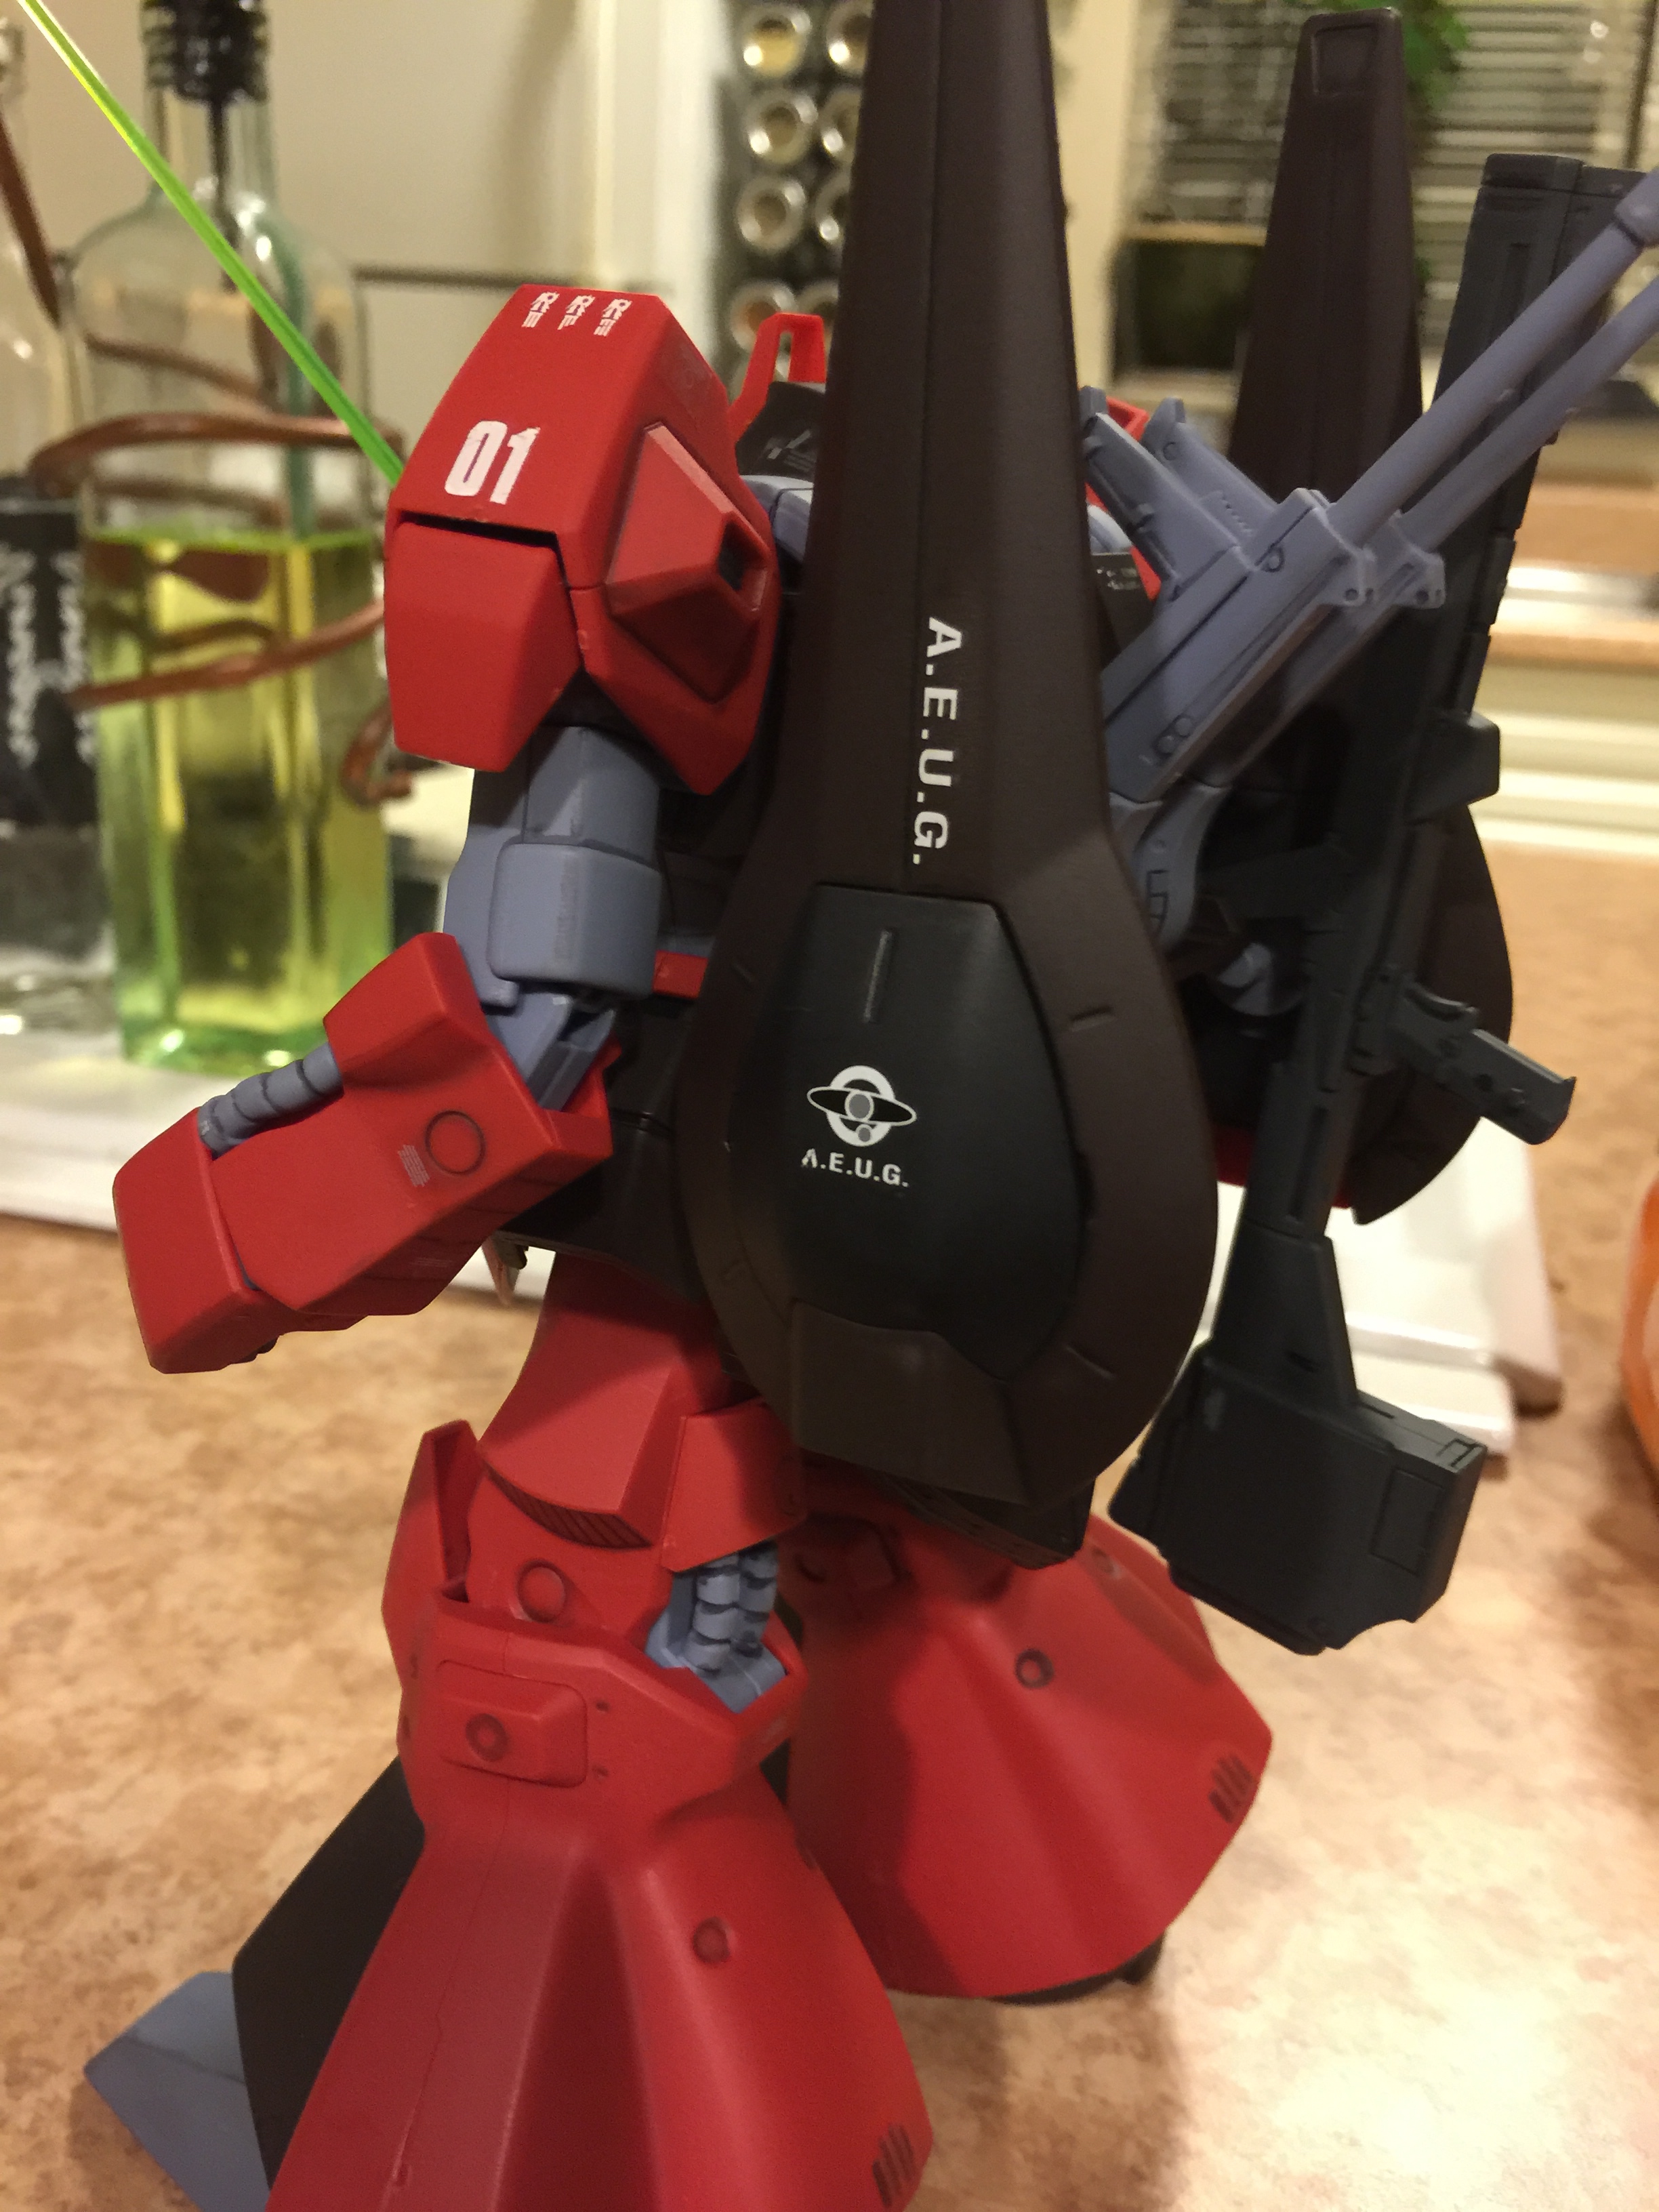
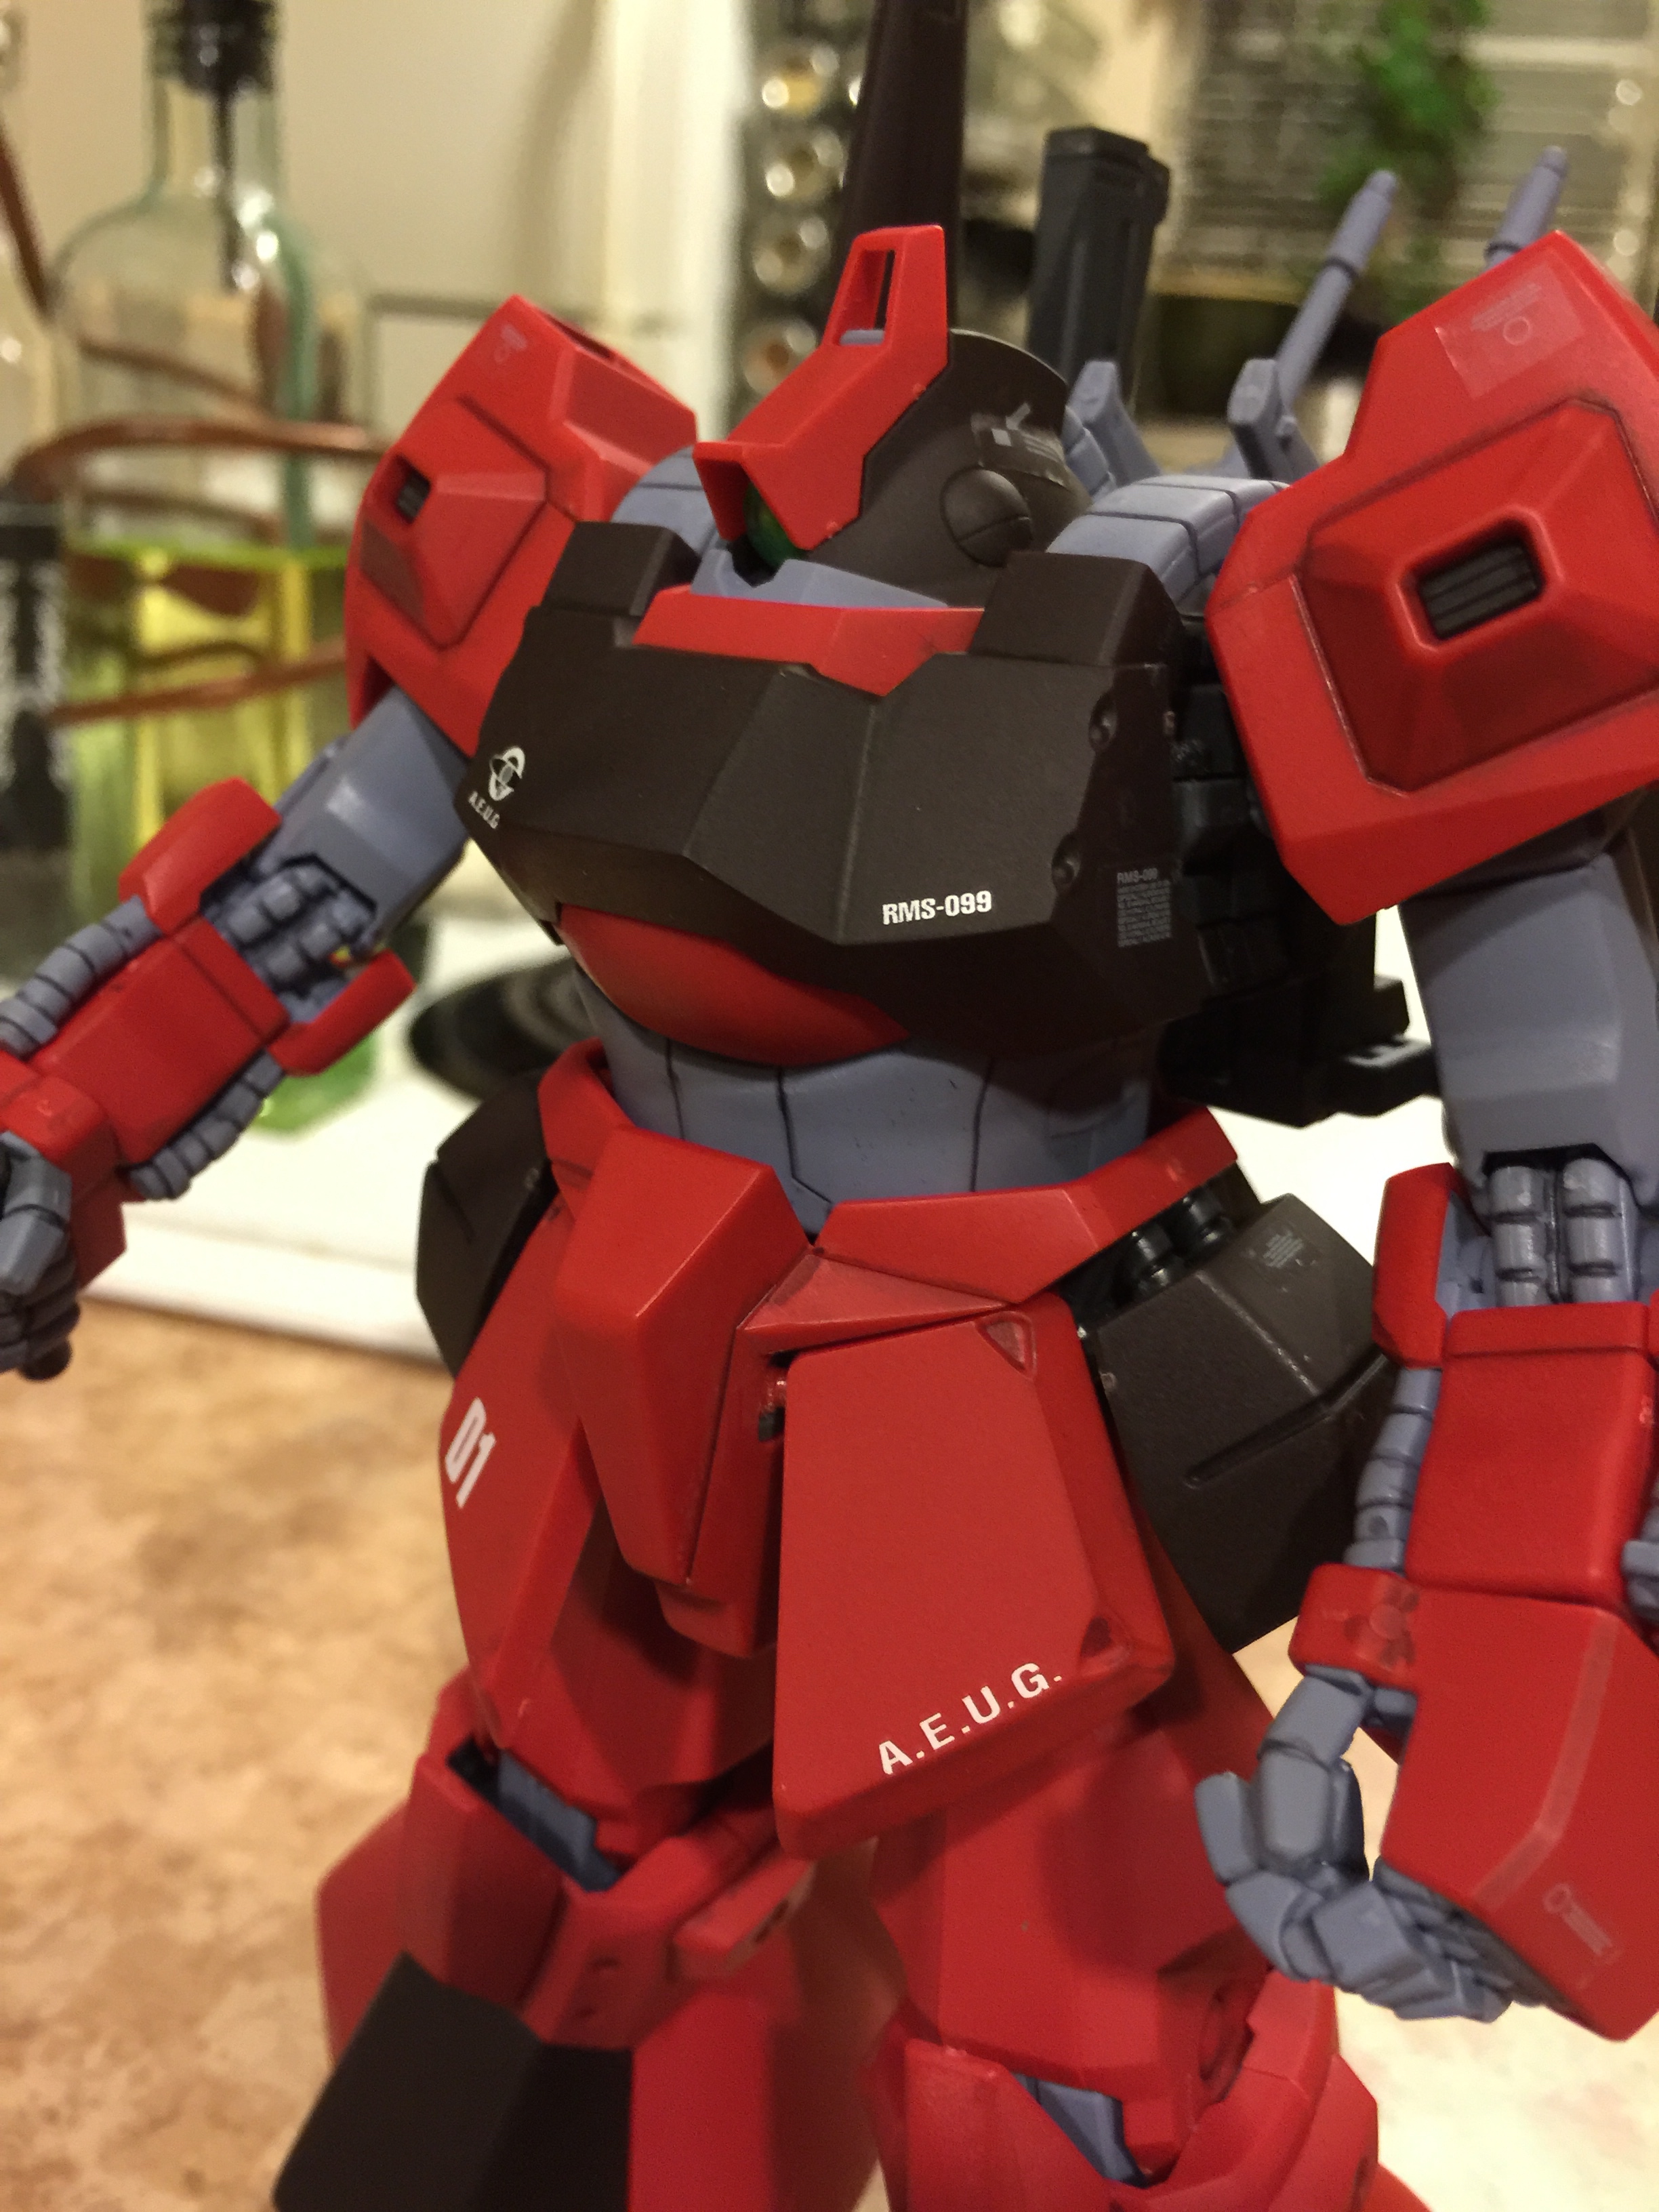
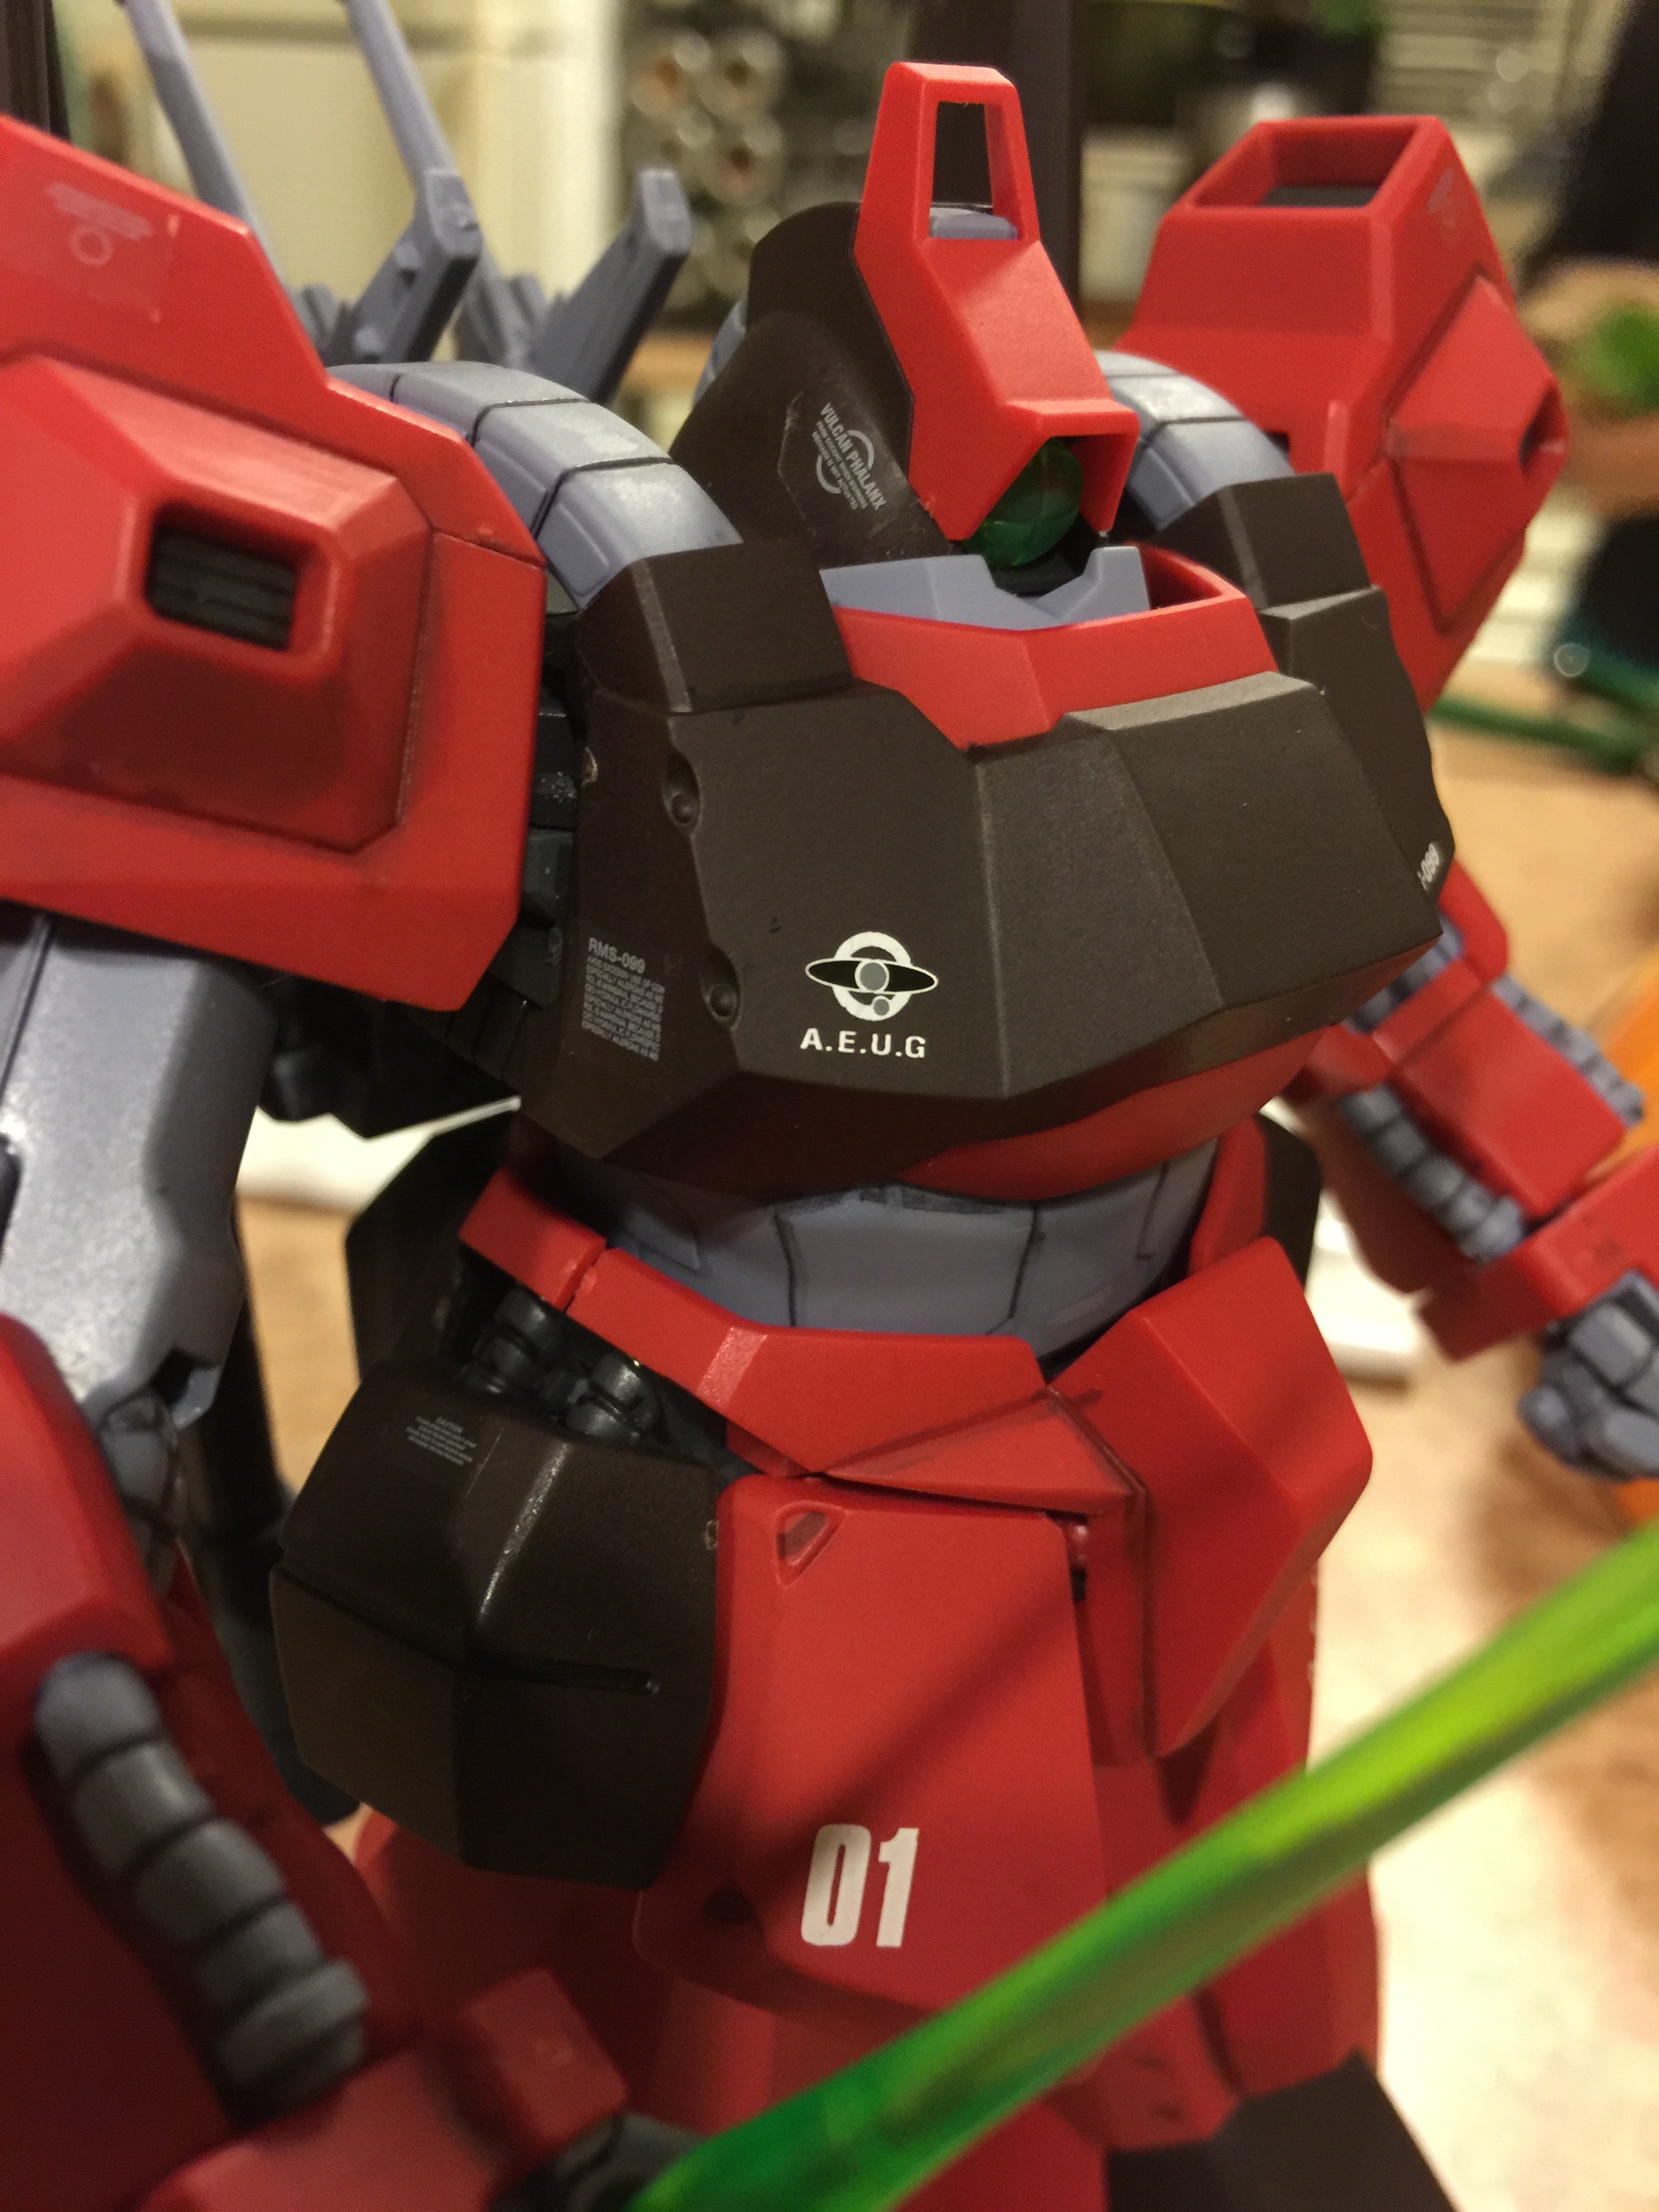
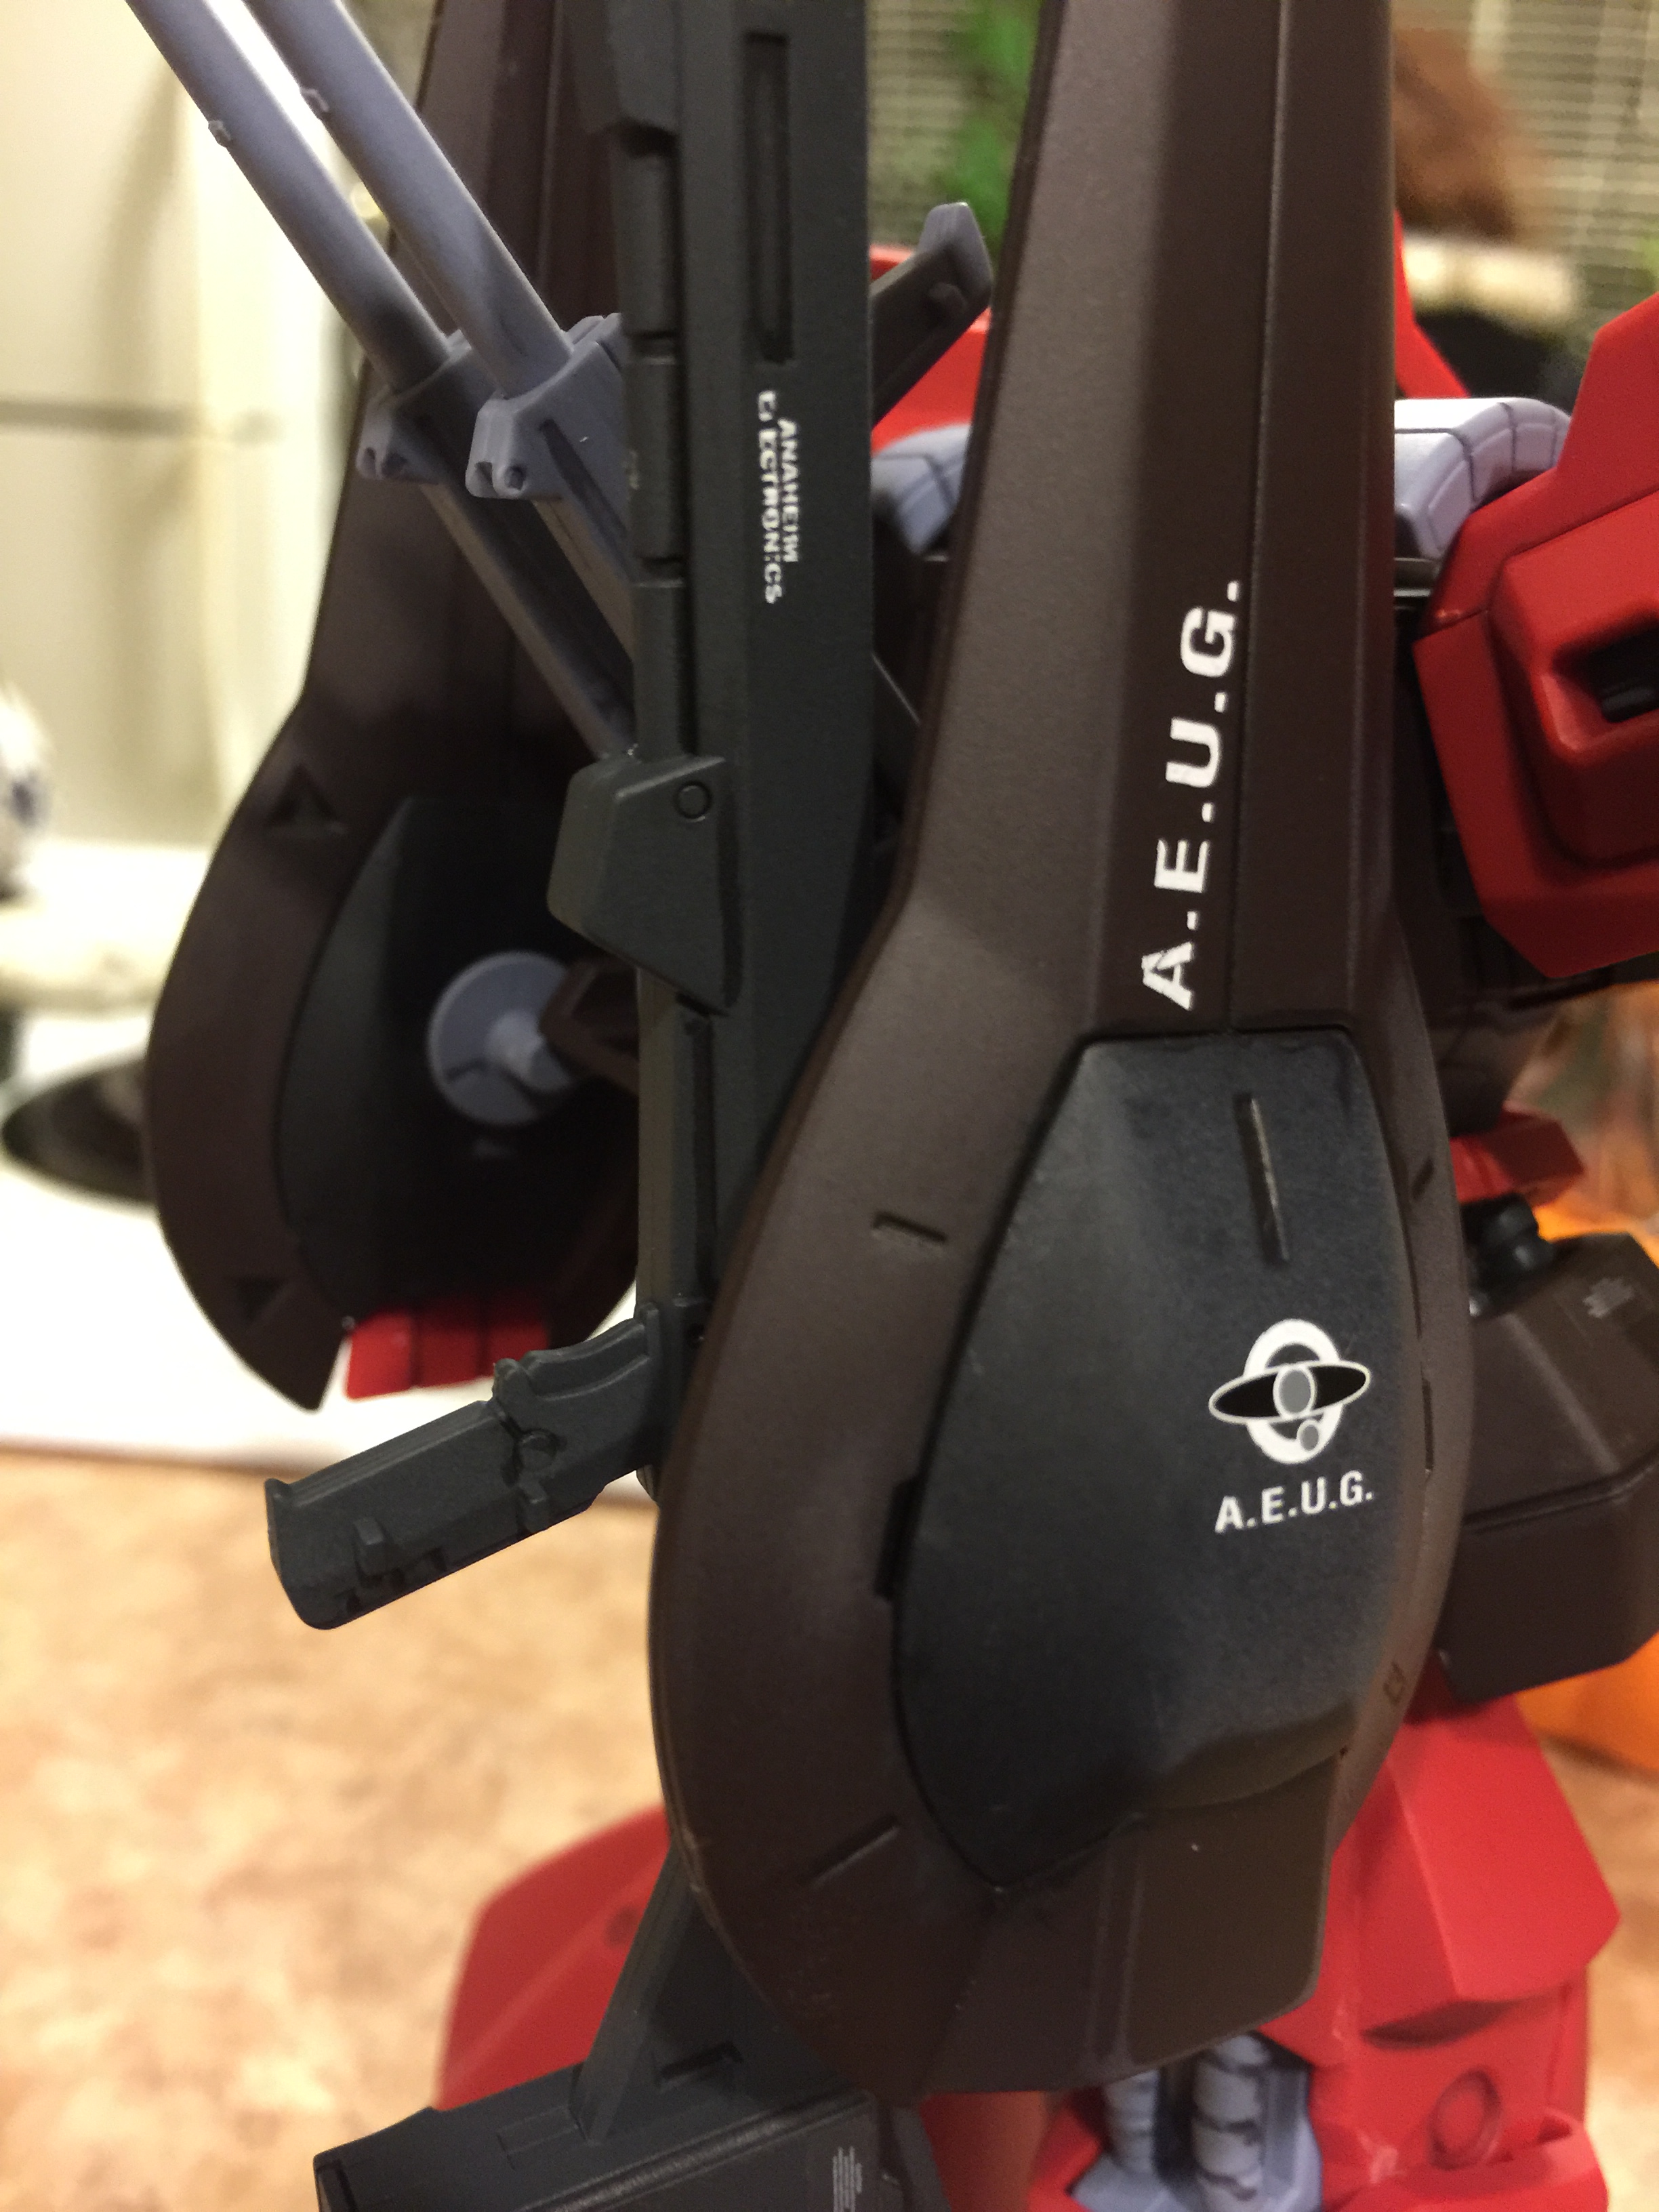
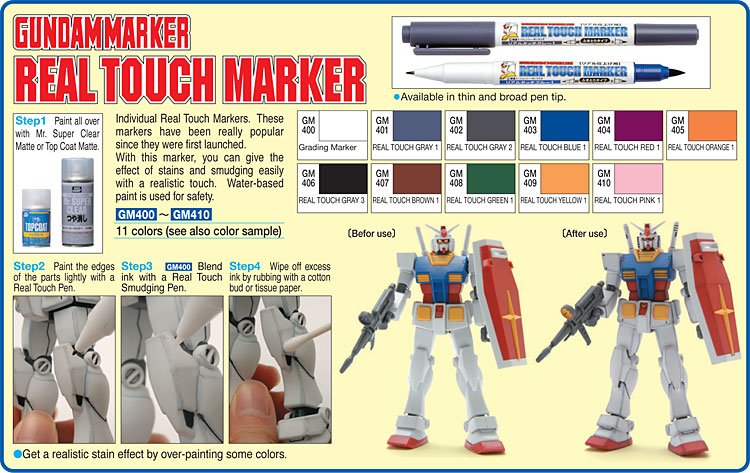
For comparison purposes, the following images shows the model before and after applying the matte topcoat, decals, and subtle weathering effects using the Real Touch markers.

MS Comparison


There you have it! For my third project, the Rick Dias turned out great! There wasn’t so much hesitance in applying new techniques as my first model, the RX-78-2 Gundam or vast experimentation with painting as my second model, the  Zaku II (Char Variant). Applying a matte topcoat from a Japanese brand I’ve never heard of was a new thing for me, considering my process with more traditional models usually consist of a prime coat followed by enamel paints. But it certainly made a huge difference with minimum risk.

I haven’t decided whether or to apply topcoat before or after I do the panel lining/weathering/decals. In this model, I applied it before I did the detailing and had no issues. My Zaku II Char variant on the other hand…applying a topcoat afterwards made quite a mess.

MG RMS-099 Rick Dias Quattro Custom – Part 2

Here’s a progress update on the Quattro Custom Rick Dias! With this being my third build, I opted to build everything in stages as opposed to haphazardly jumping around the project.

IMG_0096 IMG_0097

The actual model actually turned out really well and the colors don’t quite pop-out as I had originally feared. The only problem is that…well…It looks like a toy.

What got me excited for this project is the was that this will be the first time I’ll be applying a matte coat primer. Perhaps it’s just personal preference, but I want to strive for realism. When you think from a hypothetical viewpoint, and consider the resources available in the creation of a mobile suit such as a Gundam or Zaku II, a military organization perhaps won’t be too concerned about making sure the mobile suit has a nice plastic or glossy finish. In the real world especially, most countries are more concerned about a matt, flat look (although playing devil’s advocate, most countries wouldn’t paint their armament bright red/blue either :P).

boeing_fa_18_ac_hornet

There’s been a bit of hesitance when using something that can drastically change the look of a model. It wasn’t until I decided to ordered some of the Gundam Real Touch markers for some of the weathering detail when I came across a easy-to-ready diagram from Gundam Planet:

Seems easy enough?

Seems easy enough?

I used the “Mr. Super Clear” Matte spray (Lesson of the Day: つや消し, or “Tsuyakeshi” in Romanji means “Matte”). Applying was easy, just spray and let dry. I strongly urge to pick up a set of goggles, gloves, and a face-mask though, and use a well ventilated space (or outside) to spray and dry since the contents are known to cause cancer and some other crazy conditions.

IMG_0125 IMG_0114  IMG_0123

After I set to dry for about 45 minutes, the results were immediate.

IMG_0119IMG_0115

There were a few mistakes to be made though. I had a bunch of the excess “nibs” (or however builders refer them as) that had to be filed down after the initial coat dried.

IMG_0122 IMG_0121

I also forgot to sand down the model before spraying it, so there were a few cases where the plastic was a bit too smooth and the matte coat didn’t stick. Combined with the colder weather outside it made some nasty looking jizz-like splotches that had to be sanded down and resprayed. I’m using a 600 grit sandpaper since that was the finest grain they had at Ace Hardware, although I’ve been told if I can find 700-800 grit, it works even better.

IMG_0116IMG_0117

Looking at the before/after pictures, and you can tell how drastic the change was.

IMG_0060 IMG_0129

IMG_0062IMG_0130

IMG_0042IMG_0128

After assembly, the model looks pretty damn awesome!

IMG_0096IMG_0131

Next, I’ll be doing the lining, weathering, and detailing process. So at this point the kit is still not quite done yet. 🙂

MG RMS-099 Rick Dias Quattro Custom – Part 1

Worked on the new model for a few hours today. Here’s the progress!

The setup

The setup

A set of Real Touch Markers for weathering (which will be much later in the project).

A set of Real Touch Markers for weathering (which will be much later in the project).

Another set of Real Touch Markers

Another set of Real Touch Markers

My trusty tool kit

My trusty tool kit

Here we go!

Here we go!

A can of "Mr. Super Clear", which is a Matt primer based paint according to the stuff I've read on it. Will test it out on some crap stuff later.

A can of “Mr. Super Clear”, which is a Matt primer based paint according to the stuff I’ve read on it. Will test it out on some crap stuff later.

Breaking into the shit

Breaking into the shit

First part of the upper torso is in place.

First part of the upper torso is in place.

Internals done

Internals done

External armor

External armor

Back of torso

Back of torso

A part of the head

A part of the head

The hollow inside of the head

The hollow inside of the head

Now with some internal parts

Now with some internal parts

All together

All together

The red piece opens up to reveal some weaponry

The red piece opens up to reveal some weaponry

Twin guns

Twin guns

The big cannon with an insertable magazine

The big cannon with an insertable magazine

And there you have it. Pardon for the briefness of the post, but I’m pooped out!

Rick Dias, Opening the Box

It’s time for a new blog update! I’ve been sick-ish the last few weeks, but feeling so much better now! Here’s a new update with what going on in the world of Scott!

Its a Box!

A big package came in yesterday from Gundam Planet, which has great competitive prices, Mobile Suits sorted by series, scale, and grade (as opposed to Amazon that just dumps everything into “Toys & Games”). With that said, I wonder what’s inside?

The model!

What is this? It’s a new Mobile Suit, “Quattro’s” custom Rick Dias. The box design looks admittedly like generic 3D garbage. What does the actual model look like?

Side of the Box

Box insert

The inside of the box has a nice full insert of Quattro Vageena’s (snickers) custom mobile suit. Immediatly I can see that the model is a bit on the “bright side” as far as the usage of coloring…and that has me a bit concerned since I can be picky when it comes to putting my models on display.

Animated Rick Dias

For comparison’s sake, I pulled up this image from the 1985 design from Mobile Suit Zeta Gundam. Just as I expected, the red is a bit subdued in the actual series compared to the model illustrations. My assumption based off comparisons on various finished models is that model is actually just lit weirdly…but instead of conjecturing, let’s see what it actually looks like inside the box.

Inside the Box

The different parts

The Manual

The colors look about right given the lighting conditions when I took these pictures. I’m also happy to say the instructions are easy to follow. Sure, it has four different alphabets (Romanji, Kanji, Katakana, Hiragana), but that doesn’t intimidate me in the slightest!

Deathscythe

Whoops! You didn’t see that last picture.

This is going to be a fun project. Unlike my last project with Char’s Zaku II, there is going to be a lot less risks that I’ll be making with painting. Most of the focus will be towards weathering and panel lining. With that said, this is going to be an awesome project and I’ll be posting periodic updates of my progress.